In my last post I explained what I learnt during the process of blocking out the Tokyo street scene. I invested quite a bit of time and hard work into this and most of it proved extremely valuable for the project. I hope that this blog will serve as a reminder to myself of the steps I took to get to the end result, as well as provide some insight for anyone interested in my process.
Lighting
Considerable time was spent attempting to figure out the right approach for lighting. On previous personal projects I worked with a baked solution in Unreal. Despite good results, I often wasted a lot of time while the lighting was building. This slowed down my progress and meant I couldn't be as flexible with updates and changes. I researched into LPV's which Epic used on Fortnite. I watched a great GDC video Here which sold me on the technique and with the help of the documentation got it setup. For the Blockouts this gave me decent results. I was able to achieve accurate bounce light and was confident some of the resolution issues would be less noticeable with final art.
 Find more here: LPV UE4 Docs
During my time on the CGMA lighting course I discovered the disadvantages of the LPV system. With the systems current implementation, it only works with the Skylight, Directional and Emissive materials. Not having access to point and spot lights meant it was a lot more challenging to light interior scenes. After further research it was at this point I switched to NVIDIA VXGI solution which used voxels to drive the bounce lighting. I used this for the course and my upcoming project, so I will do more of a breakdown about this later.
Materials
To create a framework for the materials in the scene I started a mini library. These were all created in Substance Designer and to a first pass level. The idea here was to get the main materials in the correct folder structure and get a consistent art style defined early. With a good structure replacing them later would be easy.
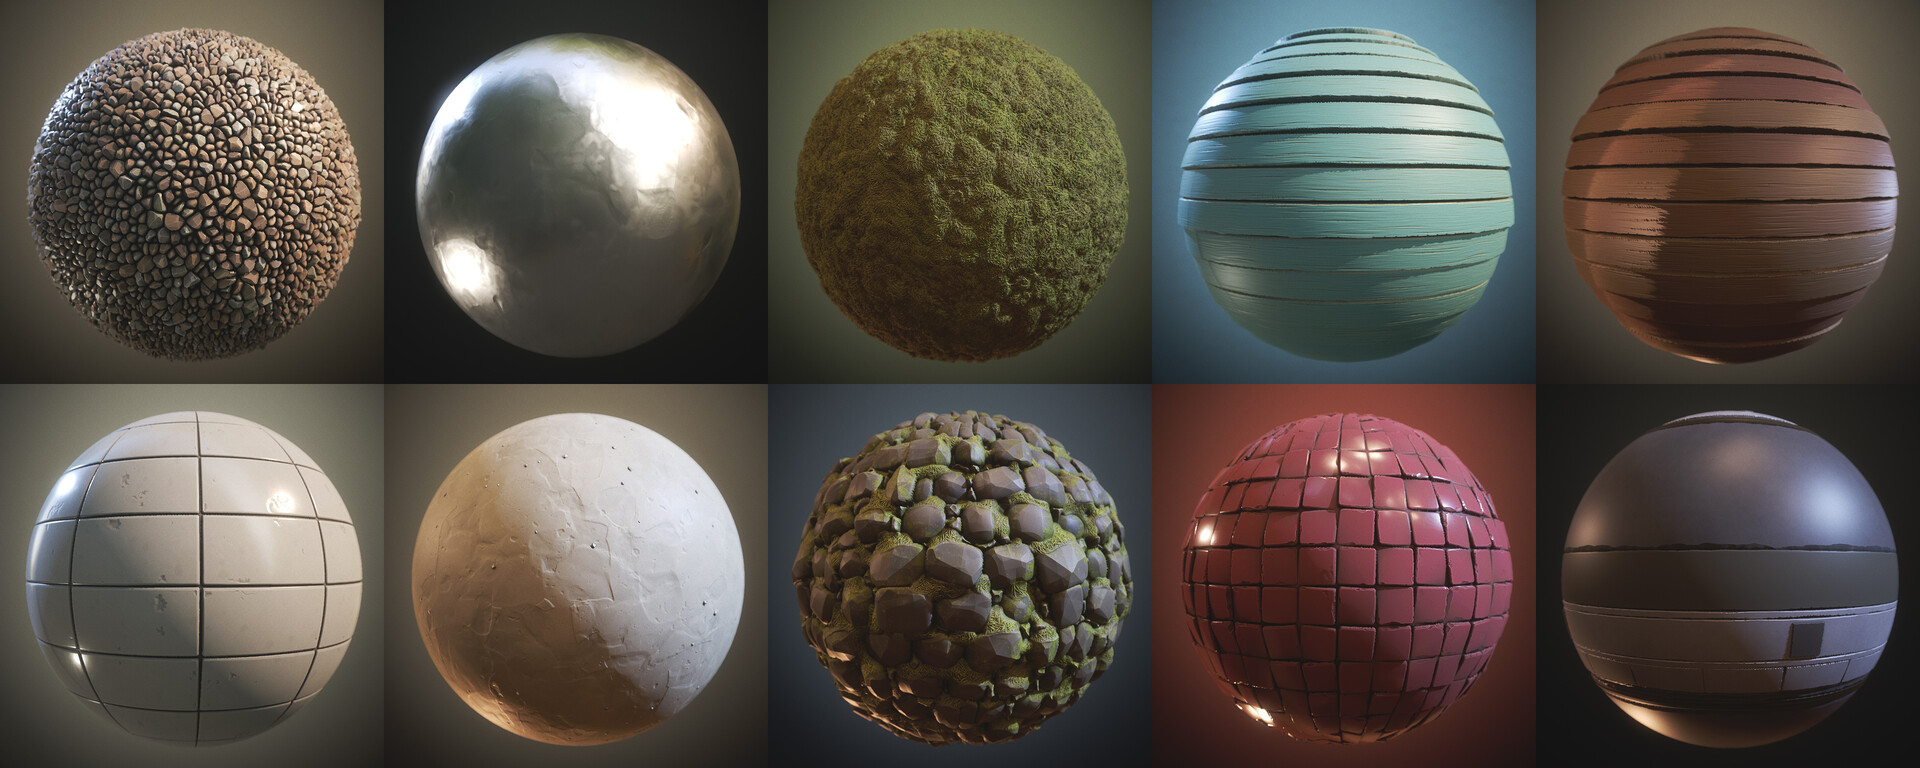
I pushed for a more stylised look for the art style as my main source of inspiration was the overwatch short.
I created a trim sheet which I used to texture most of the street and pavements in the scene. Plus, a decal atlas which covers the Japanese signage.
Meshes
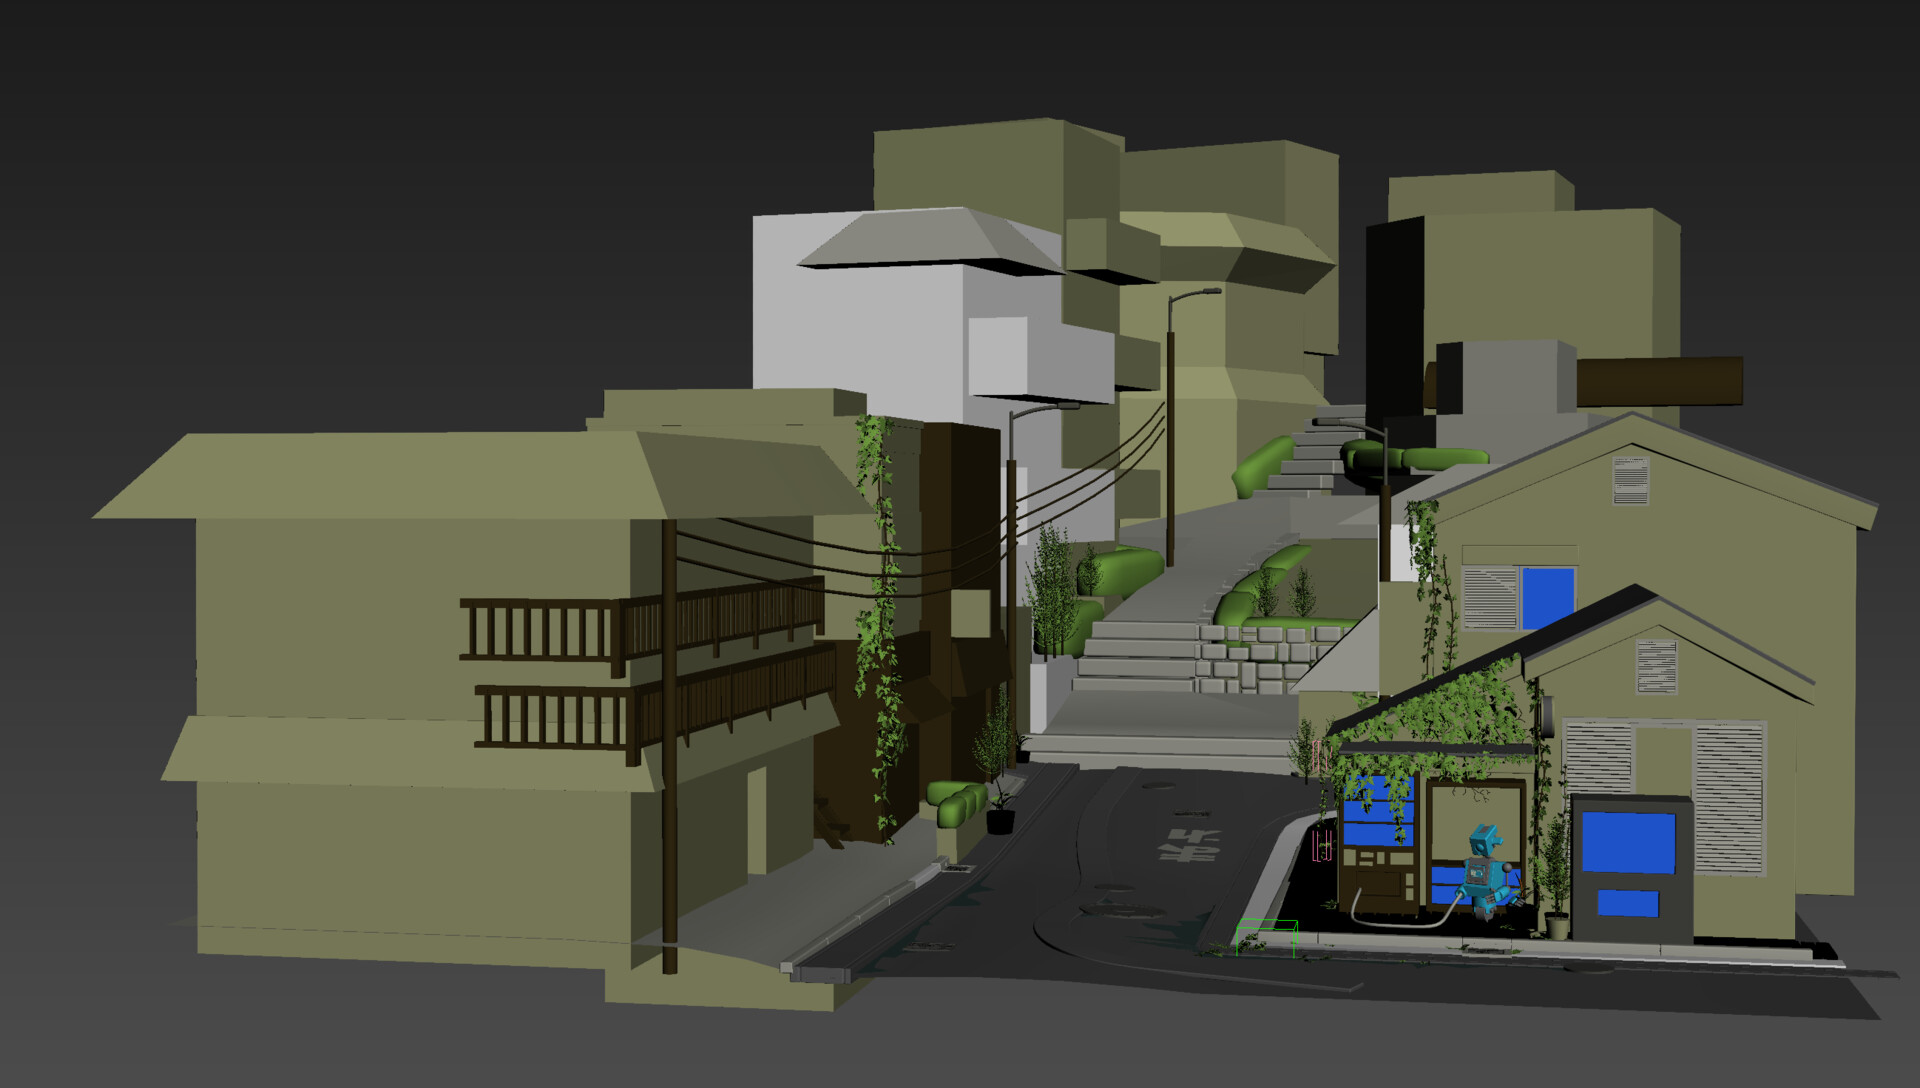
For the blockouts I normally start with the largest brush strokes. First, I create a blockout in 3ds Max, modelling the whole layout in one file allows me to figure everything out and establish a good sense of scale. Once the idea grows i separate the individual elements and establish either modular pieces or unique assets. This isn't always perfect straight away but more of an organic process that grows over time.
Full blockout street scene

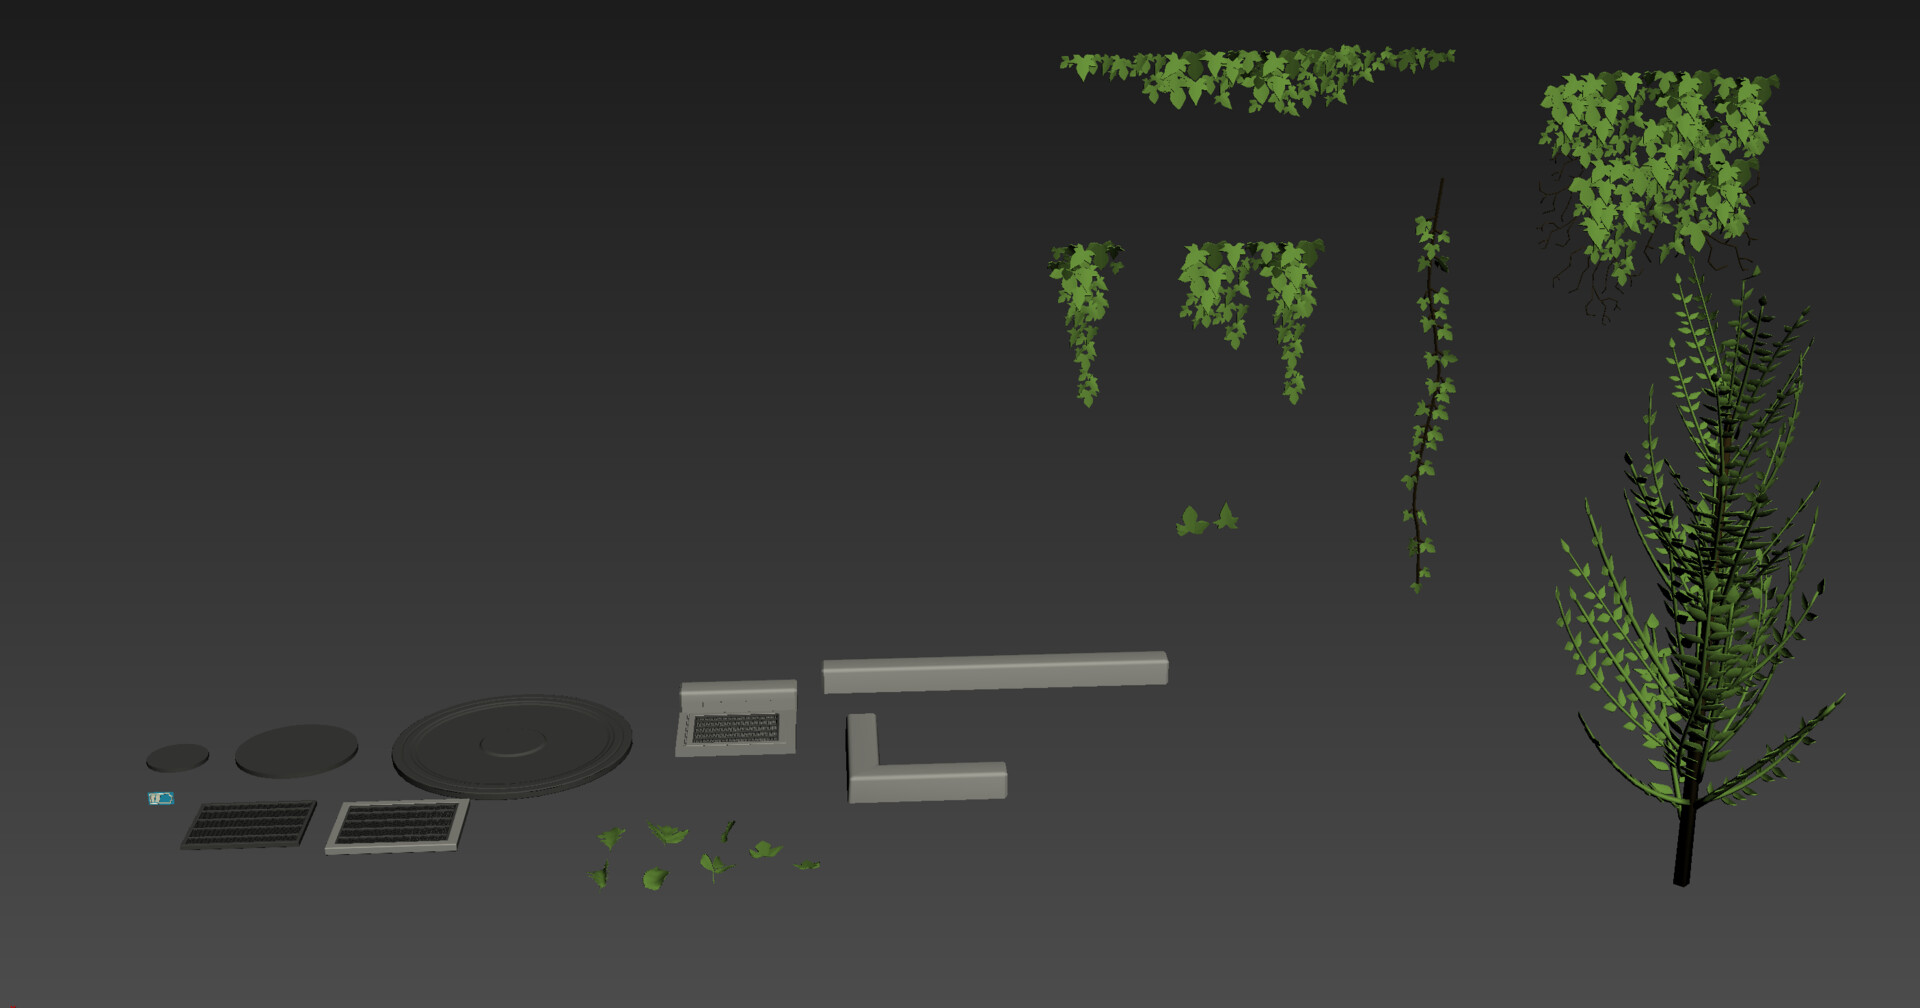 Further breakdowns for the individual assets
Style Asset test
Post blockout, I pushed ahead with finding a style in the unique assets. I wanted to find a balance of exaggerated realism with somewhat simplified details, exaggerated silhouette and realistic materials.
This started with the post box asset. For art example assets I normally try to find something with multiple techniques and materials to try and encapsulate and answer as many questions as possible. Here I had sculpted worn paint, metal and stone. For stone I was inspired by Michael Vicente (Orb) Portfolio style with slightly more realistic micro noise. The metal was mainly about subtle edge damages and stylised warps. For the paint I attempting to reveal the metal surface underneath. for the Silhouette and mesh itself it was about finding the balance of how far to push reality.

UE4 Shaders and Tech
As I have become more familiar with UE4 I have adapted my approach to environment creation somewhat. I now make simple set dressing assets in blueprints which helps to easily replace and add logic to asset prefabs later. (more of this in upcoming blogs)
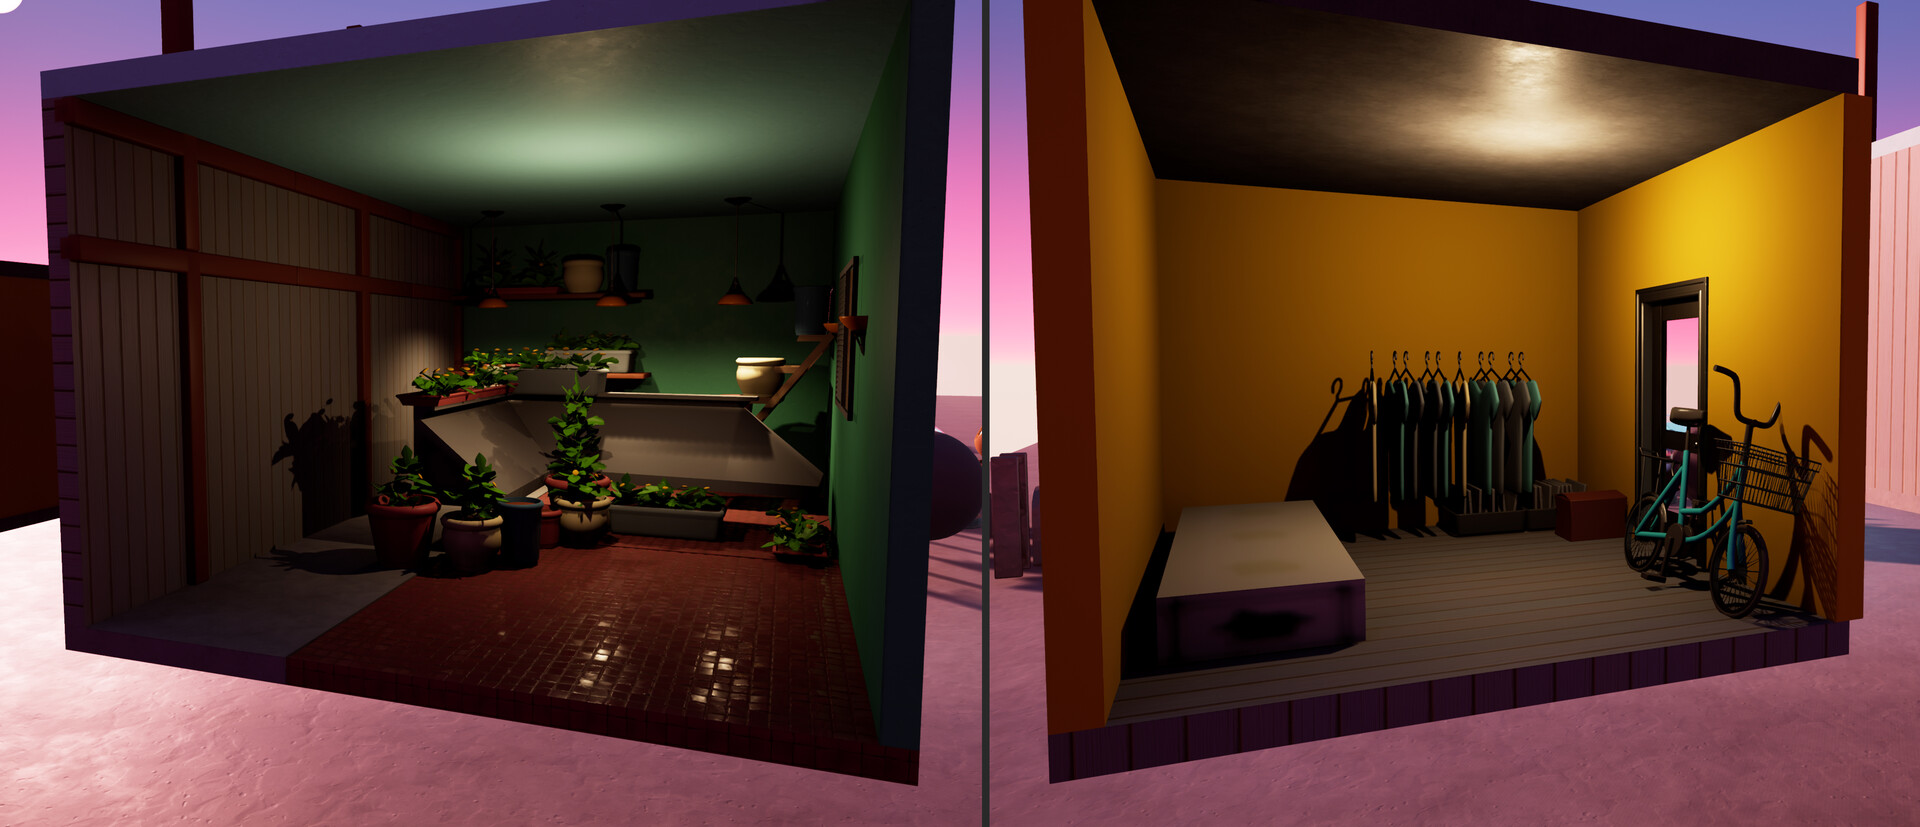
Shader wise i am focusing on master shaders to encompass parameters for flexibility later. The most bespoke work I did was parallax interiors. I built small rooms from blockout assets. I then capture an HDR using a scene capture actor, this is driven in the Shader to create a fake room. These are blurred and provide enough depth along with set dressing to give the look for rooms in buildings and shop interiors for the various shops. The beauty of this is as the assets get to final art quality, a simple recapture improves the HDR rooms.
Small rooms created for the interior windows
Designing the Robot
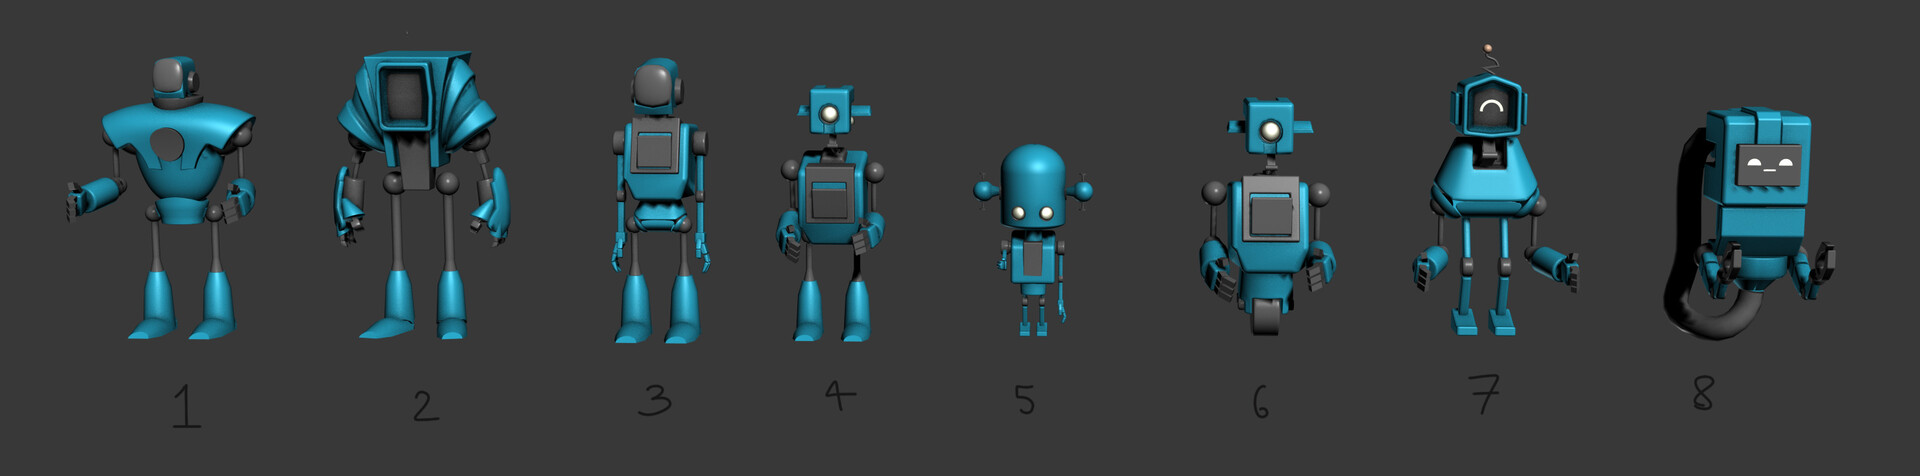
I did some initial design work at the start of the project to figure out how I planned to handle the robot. I made a series of kits of arms, legs, bodies and heads and kit bashed them in 3d to generate the designs. Had a lot of fun with this but I plan to redesign this guy with more detail later.
Kit bashed designs for Robot
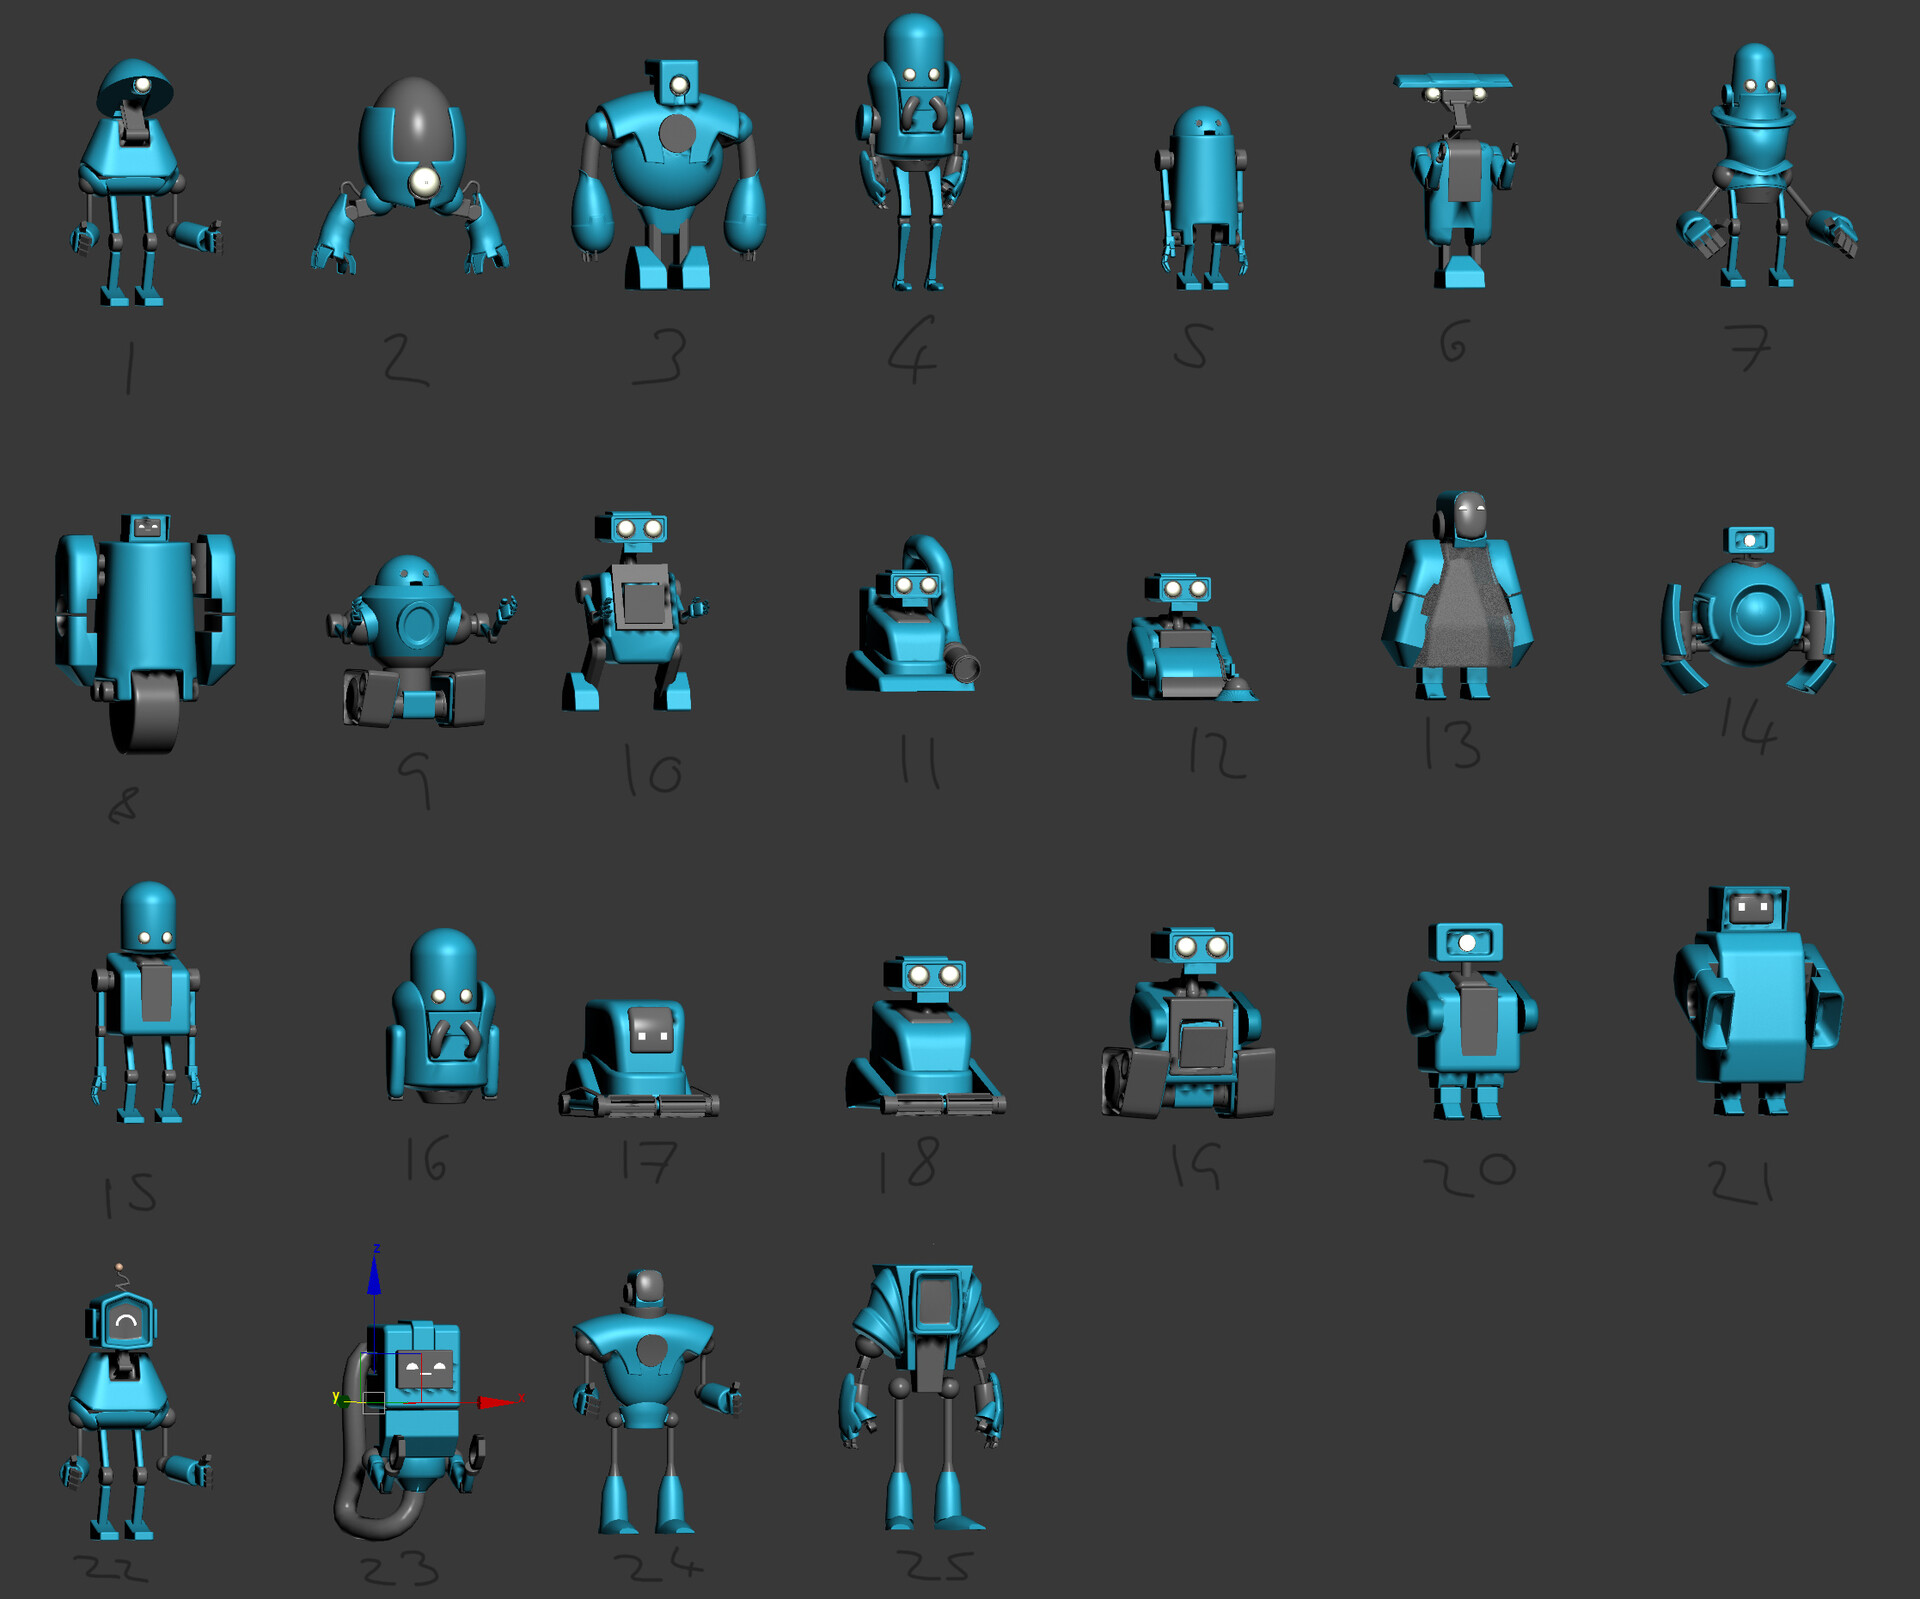
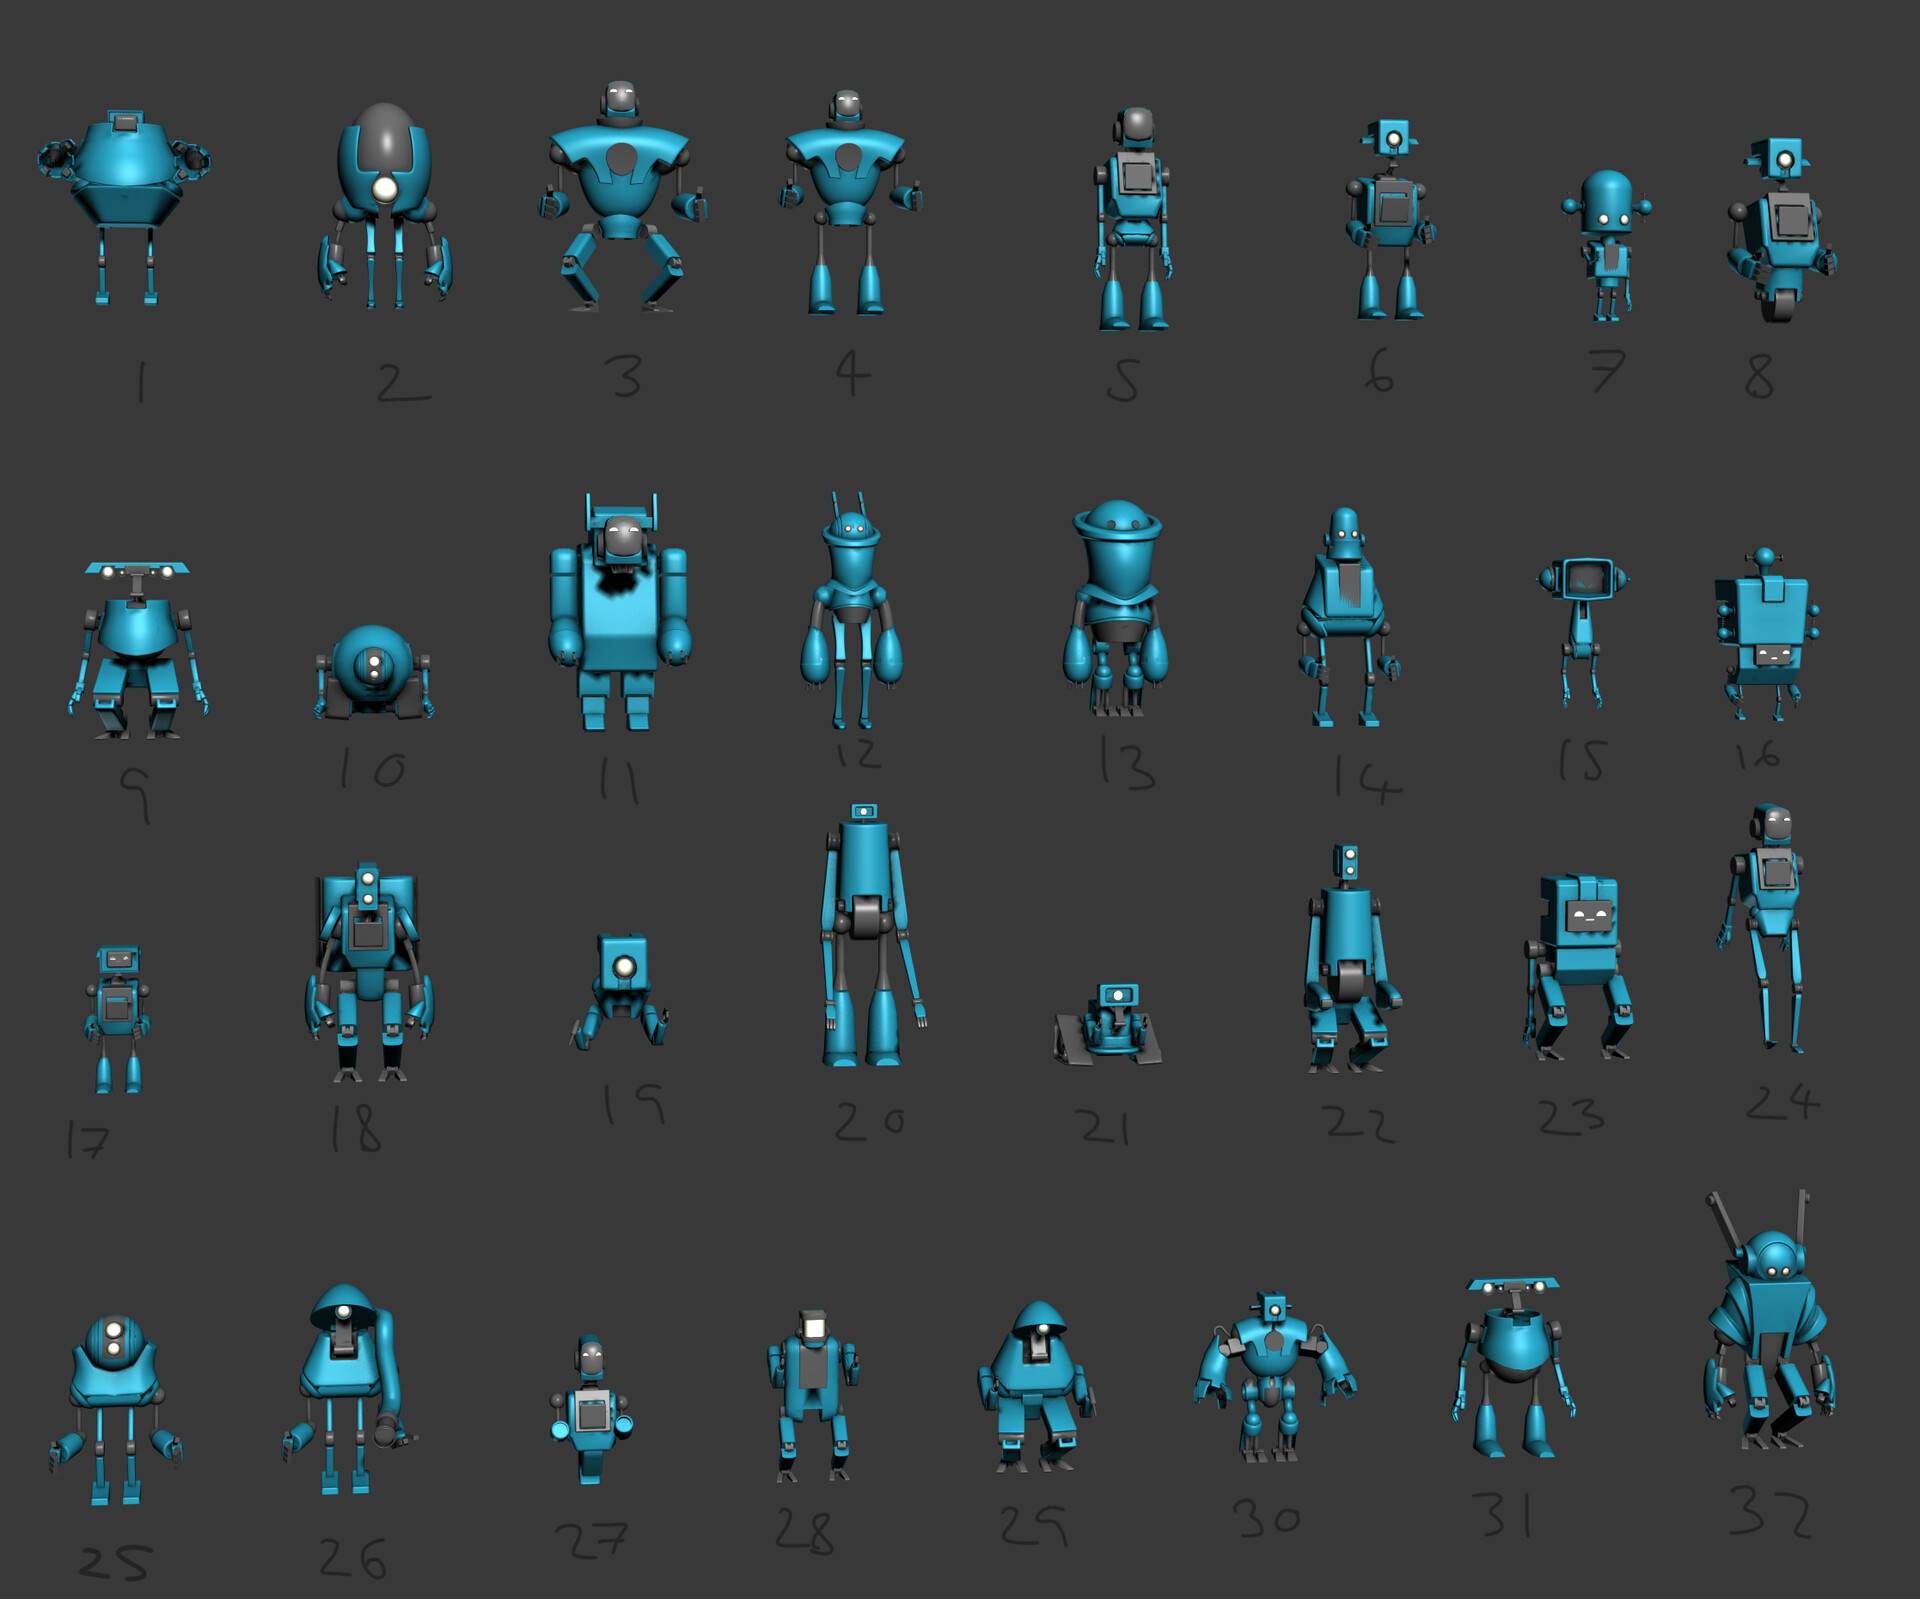
Final design choices. In the end I chose design 3/6
Next Post
In the next post I will be covering the switch to the new project idea. Showing some more process and blockout work towards my new idea.
I hope you enjoyed reading about my process and if you have any questions or require further information let me know in the comment section below.