FNE Tutorial 03 - Dinobot High Poly Final

Making Of / 31 August 2026

Hi Everyone, 

Since the last update, I have been working on fleshing out the final model for the Dinobot. The last time I wrote a blog, I did a second-pass blockout for the model itself. 

This is where we left off last time, with a final blockout for the raptor mech. Looking back at this now is a nice reminder of how far it's come. 

In the last blog, I wrote a breakdown for the design of each element - leg, arms, tail, body, neck and head. I was focused on:

  • How does each of the individual elements move 
  • Blender file setup 
  • Break the model into rough materials, panels, and a rough design idea. 

Since then, it's been a decent journey and a lot of hours of modelling to get the raptor modelling finished. In that time, I also had educational content to work on, a house move, new business ventures and a new job role. So I have been fitting that in around all these other commitments. 

Here is the latest model and the progress shots as I worked on it. 

Here are closer-up shots of the different sections and a breakdown of my thoughts when making each section 

For the leg, I really wanted to play up the giant claws and exaggerate that feeling a bit. I put greater detail into the joints and areas around the panels but used the panels to create areas of rest. I also introduced pistons and framework that is hidden under the surface.  Across the design, I also unified the colours and emissive values. 

As raptors stand on two legs, I wanted the legs to feel powerful and stable. I scaled the main joints up as big as I could get away with and tried to follow the anatomy of a real raptor to make everything feel stable. 

For the arm, it was a similar story to the legs. I unified the materials and emissive values. The biggest design challenge here was hard-surface feathers and how they integrated into the arm. I wanted the hint back to the historically accurate raptors being smaller, bird-like creatures, and to find a way for feathers to make sense in the design. Again, around the hands and arms, I played with the shape language being a lot more organic and rounded, hard-surface design. 

For the body, this was mostly about establishing the connection with legs and arms, and how those sockets would work. The other thing I worked on a lot, which guided the rest of the design, is areas where you would see electronics and pipes. I used inspiration from the Horizon series to inform how that might look. 

As well as the body that connects all other areas to the parts of the design, I wanted to take inspiration from my Ecobot beetle and build an interesting environment within the robot again. I originally toyed with the idea of having water jets and tanks on the back, but since raptors are carnivores, it didn't make a whole lot of sense. I decided that carrying their eggs on the back of the mech made more sense. So I came up with a rotational nest that holds the eggs. This is all animated with the panels for the back to open up and reveal the eggs. 

For the tail, there are two main elements: the main repeating section and the end of the tail. For the model, I tried to work out the internal structure/frame and how that would feasibly function with the correct joints before layering panels on top. I also added fabric, which can hide some of the internals and is great for filling out the awkward gaps under and between the panels. Once I had one section of the tail, I then repeated that using array and deformed it along a spline, which allows me to position the tail in whatever position makes sense.

For the tail end, I wanted a slightly different feather design which really highlights that hard surface feather feel I mentioned earlier. These are made as one straight feather which is bent/deformed into shape and positioned manually to create the design at the end. 


For the neck, this was a lot of the same techniques I used for the tail, except I had a few more underneath splines/pipes and structure on the front of the neck. This is because when I looked at a lot of visuals of raptors, they have a lighter colour on the underside of their skin under their tail, stomach and neck, so I wanted to get that colour change across. I mostly kept the panels on the back of the neck. 

For the head, anatomically speaking is very close to a real raptor. I didn't want to change it too much cause I want it to read and be recognisable as a dinosaur. The big design choices here are rounding out the tops and sides of the face in the panel shape language. I played a lot with the big head piece, which is a big visual statement and makes the design feel different and unique.

I hope you appreciated seeing the update and the visuals, and the thought process for designing this model. 

Next up, I will be working on making a lower-res and UVd mesh. I am likely planning to use a bunch of UDIMs to texture the model before texturing and final presentation 

Thank you for reading 
Ben

Beyond Extent Workshop

Making Of / 16 December 2025

Hey Everyone, 

A few months ago, I did a workshop for Beyond Extent on my hard-surface project, Eco-Bot Beetle. 

This workshop focuses on some of the pipelines and workflows I used when I built the organic hard-surface robot. I had a great time hosting the class and had some great questions during the session as well. 

Thanks to the Beyond Extent crew and everyone who supported the workshop, you can now watch it for free here, and I hope you find it to be educational. 


Regards 
Ben 
Gas Station Games Artist Article

Making Of / 17 February 2025

Hey Guys,

I wrote an article sharing my workflows from my recent Gas station project. I had a blast writing it and figuring out what parts to include. I wanted to teach others about my workflows and experience working on the project. 

You can find them all here.

https://gamesartist.co.uk/octopus-gas-station/
https://www.artstation.com/gamesartist
https://twitter.com/GamesArtistUK/
https://www.facebook.com/GamesArtist/
https://www.instagram.com/gamesartistuk/


Gas station - Props, Polish & Final - 09

Making Of / 09 December 2024

Hey Everyone, 

Now that I have finished the project and posted it to Artstation, I wanted to make one last blog post to wrap up all the work for the project, provide continued breakdowns, and show the scene's progress. 

https://www.artstation.com/artwork/1nBRA3

After the last blog post, I completed much of the final work for the scene, including updates to textures, prop refinement, some new prop work, and general polish work. 

Here is a list of some of the Polish work I did initially. At this stage, I only had a few assets left to complete, so I wanted to tackle some of the more minor issues that were bothering me. I won't show screenshots of all this work as it was many tiny tasks. I will try to show stuff of significance. 

  1. Lighting passes for different times of day 
  2. Update the rounded door at the back 
  3. Update a missing trim on the roof/Fix any holes in the trim meshes 
  4. Do a trim pass on skylights 
  5. Fix broken tree trunk texture/shader 
  6. Balance the base colour texture saturation on the gas pumps 
  7. Fix missing road 
  8. Remove the moss from the floor/booths 
  9. Add terrain soil around the front of the gas station 
  10. Fix holes in the interior roof 
  11. Add a ceramic tile material to the counter interior
  12. Update the barrier assets 
  13. Puddle decals 
  14. Props for the restaurant interior

One of the first updates I wanted to make was to refine the different time-of-day lighting scenarios. I grabbed a bunch of refs in Pure Ref to try and get the different looks I was going for with Stormy, Day, Morning, and Night. I wanted them to feel distinct enough to show that well-balanced textures and good PBR values allow you to change the lighting easily.

I also refined the blends and updated all the shaders for proper tesselation, which, I believe, was introduced in Unreal 5.4. 

The story of the environment is that time has passed, and there has been an alien infection. I wanted to show signs that the human population resisted before the infection took over. 

I originally made the blockouts (that sit behind). These are placed using a spline in the environment, but I just threw them together as quick blockouts in Blender. 

To update these, I used the assets I had made for this project and others: wood planks, tyres, and barbed wire. 

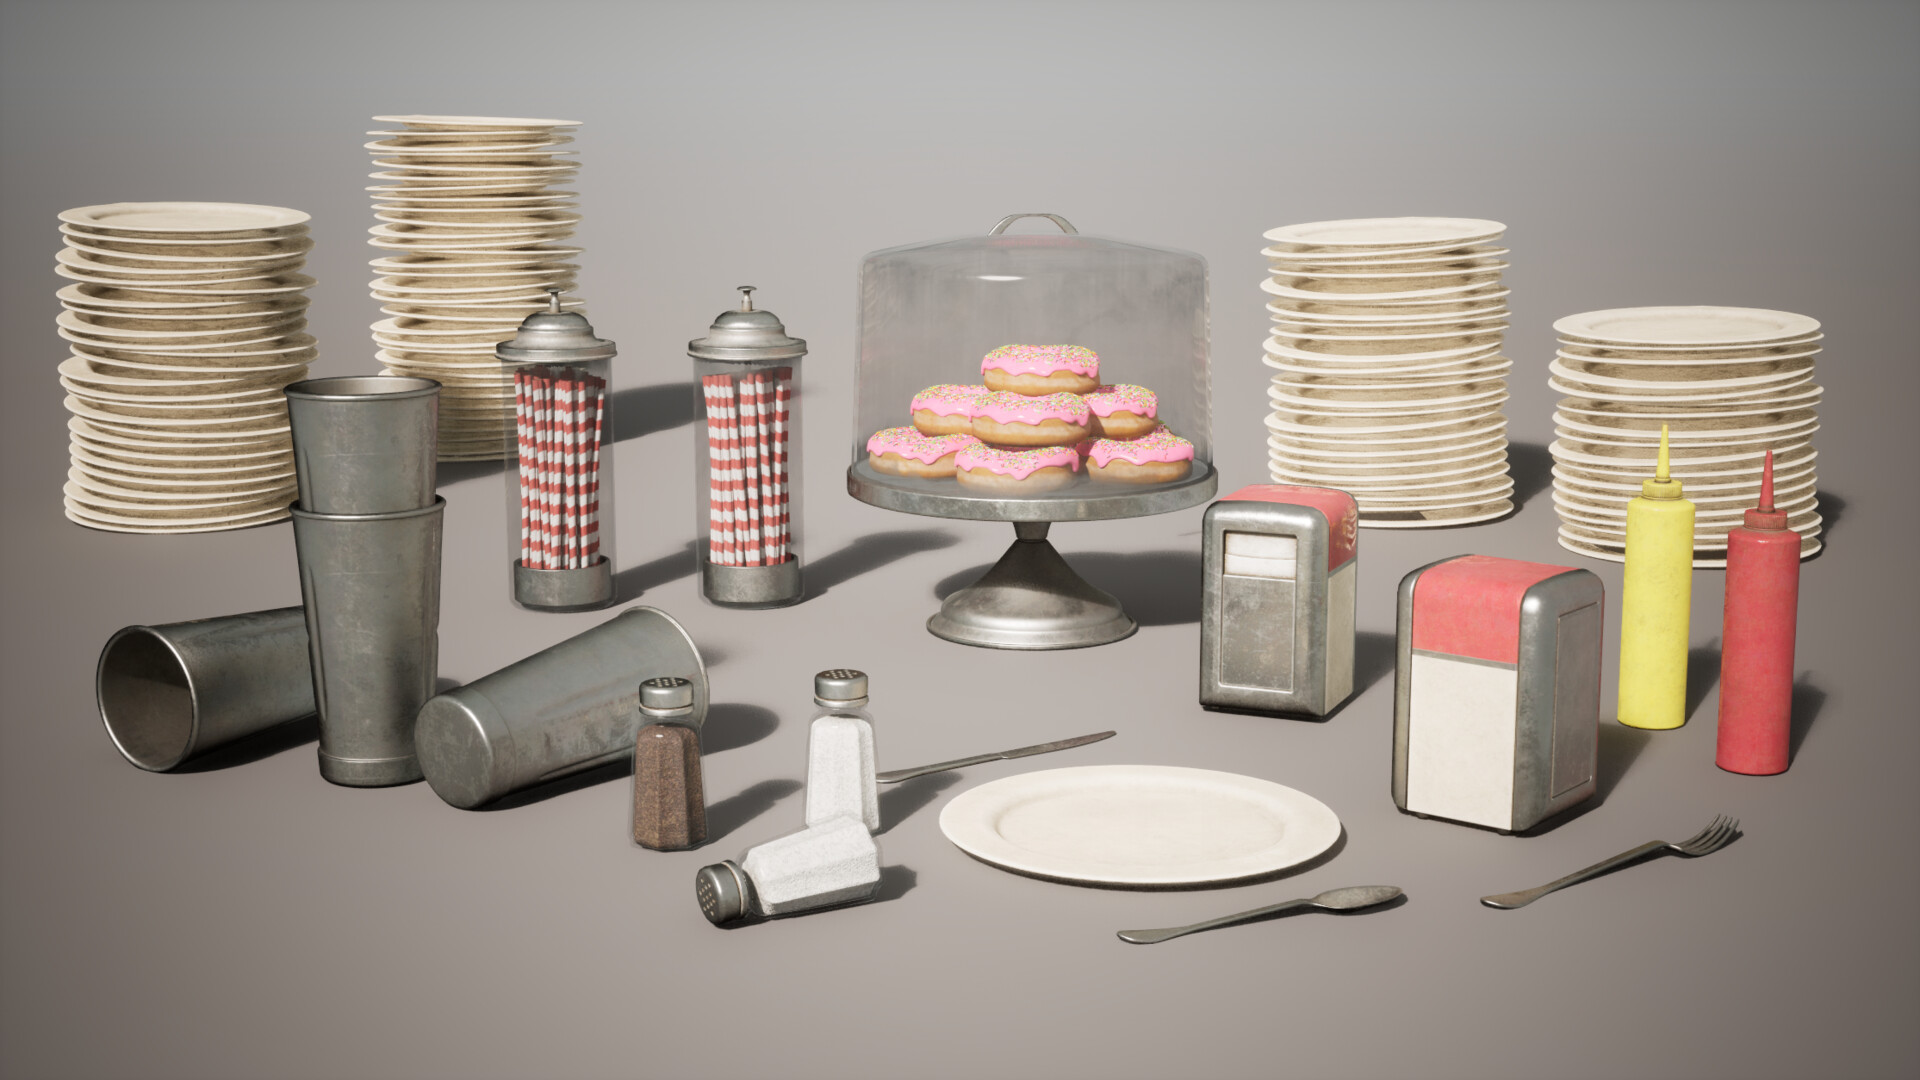
Here are some smaller props for the interior so I can dress the inside of the station nicer. It felt like it was missing these smaller-scale props and some sense that people used to live here. Some stuff like fresh doughnuts don't make a tonne of sense as they probably would have decayed, but I just liked that colour pop. 


Here they are in the interior. 


I also wanted to show the signs of alien infection and had a few ideas. I wanted a primary source of growth, some gross-looking alien sack-type asset with boils. This would act like the base of a tree with alien vines or roots that would grow from the centre point. 


I also wanted the feeling that these vines would reach out and attach to different objects like spider webs. I planned to place many assets in the scene to give that alien invasion an abandoned feel, so I made some tools in Blender's geometry nodes. 

Here is a look at two tools I created; they are in a super early stage. One tool allows the vines to grow out from the base, and the other attaches webbing between objects you select. 


I also did some tests with the Alien assets as blockouts to check how everything would look in the game before committing to finishing the art to check if there were any changes I wanted to make at this stage. 


Once I was happy, I started working on the actual assets. This mainly involved sculpting in Zbrush and finishing with Substance Painter. 


Here is how it looked in-game once these assets were completed. To create the final result, I used the vine meshes on a spline tool to easily manipulate their position in the level, and then I completed passes using the webbing and vine growth tools. 

The vine growth tool created the vines surrounding and wrapping objects in the scene. I exported the meshes from Unreal, ran the tool in Blender, and exported them back into the game. You can see it clearly on the vines on surfaces like walls and pillars. 

For the webbing tool, this creates a smaller geometry that attaches from the floor to objects or between two different objects. The process was the same as above, and you can see it clearly between the pump and pillars or attached from the floor to the diner seating. I also applied a PDO in the shader to fade the edges of these out when they intersect. 

I added a subtle pulsating to the shader to sell the alien boil feel and converted some mega scan water alpha decals to blood to bed it all together. 

The last job for the project was finishing the robot. I started this prop a while back and spent a lot of time on it, but it had become a bit too complex over time, so I wanted to strip it back, using some inspiration from Star Wars to simplify the design. I was not trying to follow the reference for Star Wars, but it shows more of a statement of intent for how detailed to go. 

The original design for the robot included some slightly complex areas, mainly around the head and torso and in some movement areas around wrists, elbows, and feet. 

As I was trying to wrap up this project, I wanted to close those areas and simplify the head and body, making rigging and finishing the robot much more straightforward. 


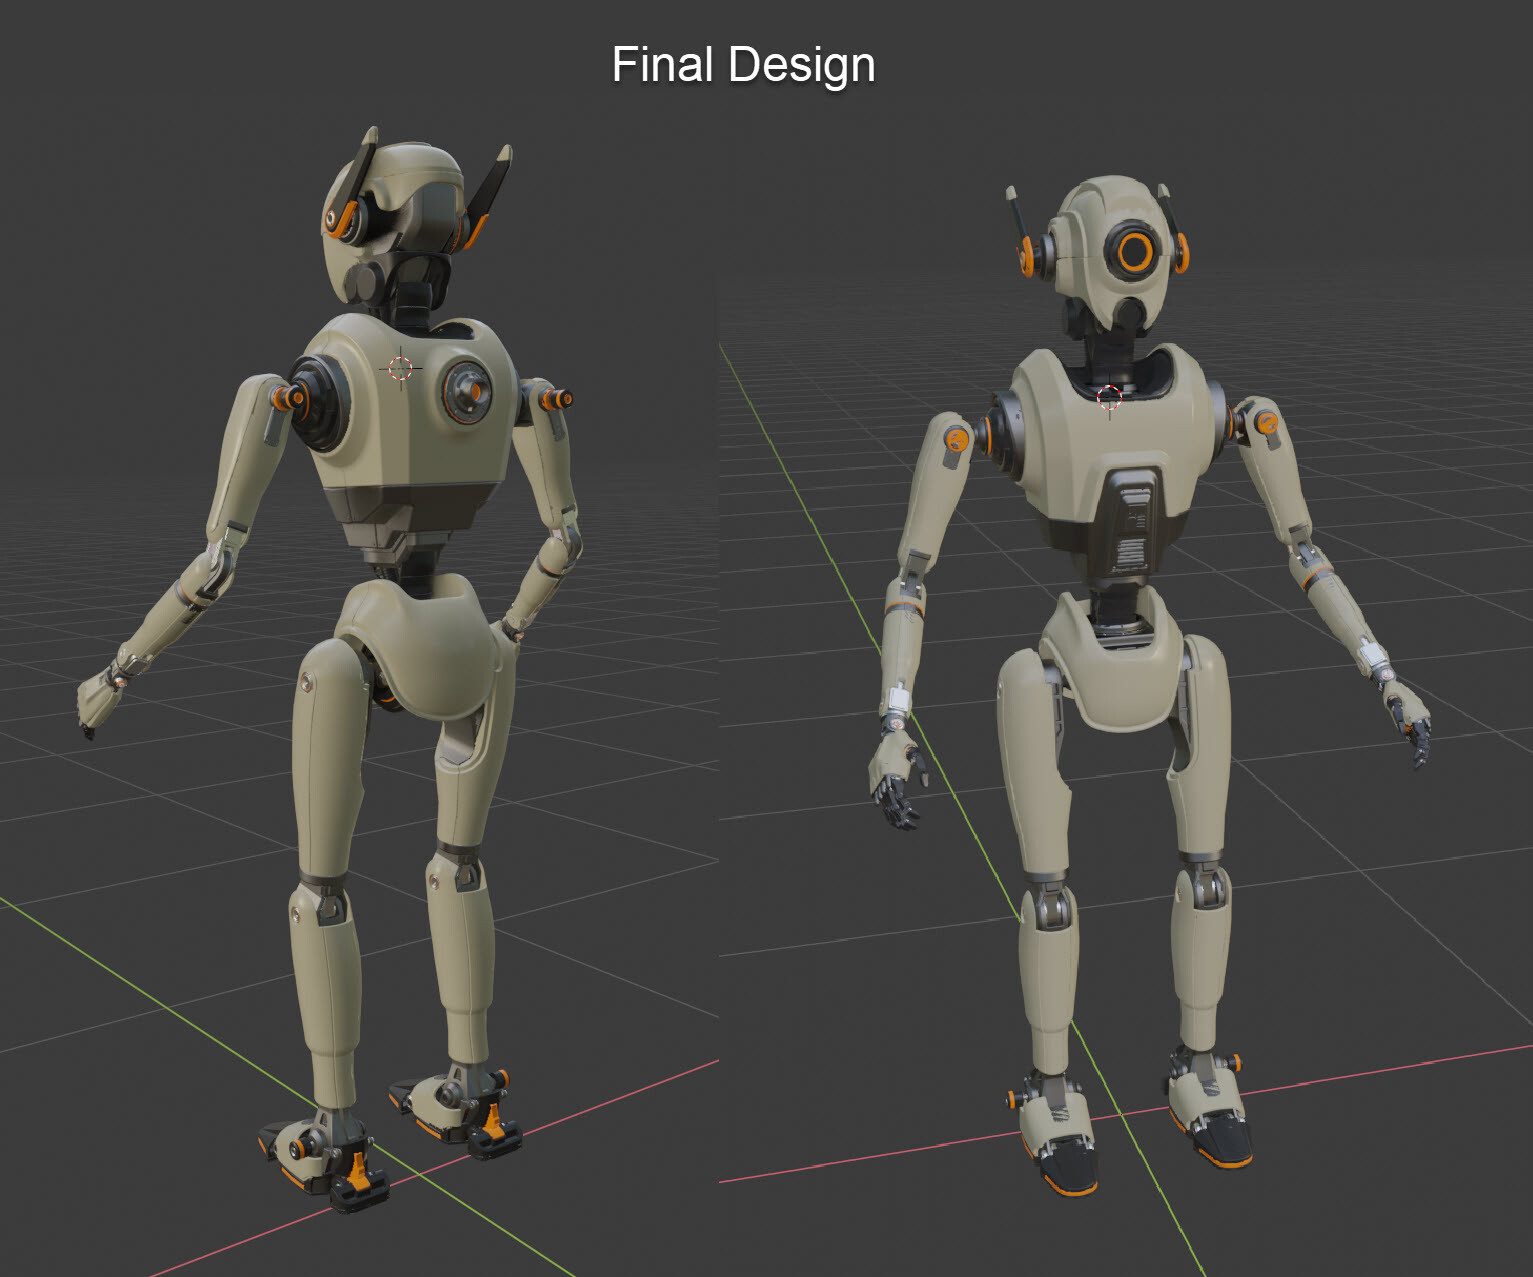
I completed the design refinements quickly and closed up many of the more open sections. All of this work went well and was quite straightforward. However, something that gave me a little trouble was settling on a design for the head I liked. I tried out some thumbnails in 3D and also did some 3D concepting using SDF modelling. 

I was stuck between a more cylindrical design and something that resembled my original design. I liked how the cylinder read from cameras and a distance, but it felt like I had seen the design a lot before, and it was a bit more generic, so I opted to persevere through the pain of getting it to look right and stick with my original design. 


Here is the final design. It ultimately captured much of my original vision, and I am happy with how it came out. 

Here is the Robot finished and in-game. I also rigged him to match the 3rd person mannequin so I could pose him (as seen sitting on the car) and run around as him in the environment, too, just for fun :) 


Finally, once the last major asset was complete, it took a lot of polishing to get it across the finish line. Here is a list of everything I did. 

  1. Asphalt texture pass
  2. Decal passes for drips on the roof and around damaged areas of trims. 
  3. Prop set dressing for cameras
  4. Some cluttered prop passes for the interior
  5. Wood texture for the interior counter
  6. Add some grass meshes for the front of the gas station building
  7. Add some trims to the shelves on the interior rounded windows
  8. Fix the UV issue on the ceramic tile counter section
  9. Proper camera and lighting passes
  10. Unreal bug fixing and lighting work
  11. Added trims to the shelving in the interior
  12. Made a fridge asset
  13. Fixed the hole between displaced tiles and the counter in the floor
  14. Lighting passes for different TODs
  15. Added props to the fridge
  16. Added a prop pass to the interior to make it feel more cluttered
  17. Refined the cameras for the final shots
  18. Setup render presets for the different aspect ratios
  19. I turned off the backlighting in the shot with the car - artist's feedback
  20. Added lighting tweaks and volumetrics to the Octopus at night - artist feedback
  21. Did a cinematic prop pass for the different cameras to make it look as good as possible
  22. Fixed the lighting bug on the exterior pillars
  23. Scaled up the thickness of the diners' plates - artist feedback
  24. Broke the greeble boxes off the door mesh and used them in the interior - Artist feedback.
  25. Reused the adverts from other props on the inside - Artist feedback
  26. Used some decals to finish the damage on the front of the Gas station
  27. Added the easy fog plugin and did a pass for each TOD
  28. Fixed the straightness of the red vine tentacles - Artist Feedback
  29. I tried experimenting with the Easy Rain plugin and switched back to UDS, which worked better for my needs. 
  30. Added wind to all the assets - focused on trees and foliage for the video and stormy atmosphere
  31. Create the progress gif
  32. Fixed some light bugs on props in the interior for seating PLA
  33. Fixed an issue with the oil not lodding correctly
  34. Fixed stretched blood decals on the interior
  35. Rotated the lights in the interior shots for certain shots to avoid too much bloom and not show the bulbs
  36. Reduced the bloom in the stormy TOD
  37. Re-rendered all shots for the night and the stormy day after tweaks
  38. Video for the stormy TOD and run around at night
  39. Asset breakdown shots
  40. Materials breakdown shots
  41. I tweaked the colour background on the material shots to be more consistent with the rest of the work.

It took a lot of effort to complete the project, but I am thrilled to round off the end of the year with this project finally done. As I mentioned in the original post, it was where I was trying to improve my rendering, storytelling, and propping and find art that interests me both in terms of subject and style.

It's led me to more semi-stylised props, lots of lighting and offline rendering practice, and my love of robots. I plan to continue on this journey with more pieces like this. Just this time, it will likely not be a project that lasts as long. I am glad to have had this project ticking along in the background to learn new skills and software workflows like Unreal 5, Nanite, and Lumen. 

Thank you to everyone who supported me and followed along with the process. I appreciate the many people who gave me feedback across various years in this project and others. 

All the best 
Ben 

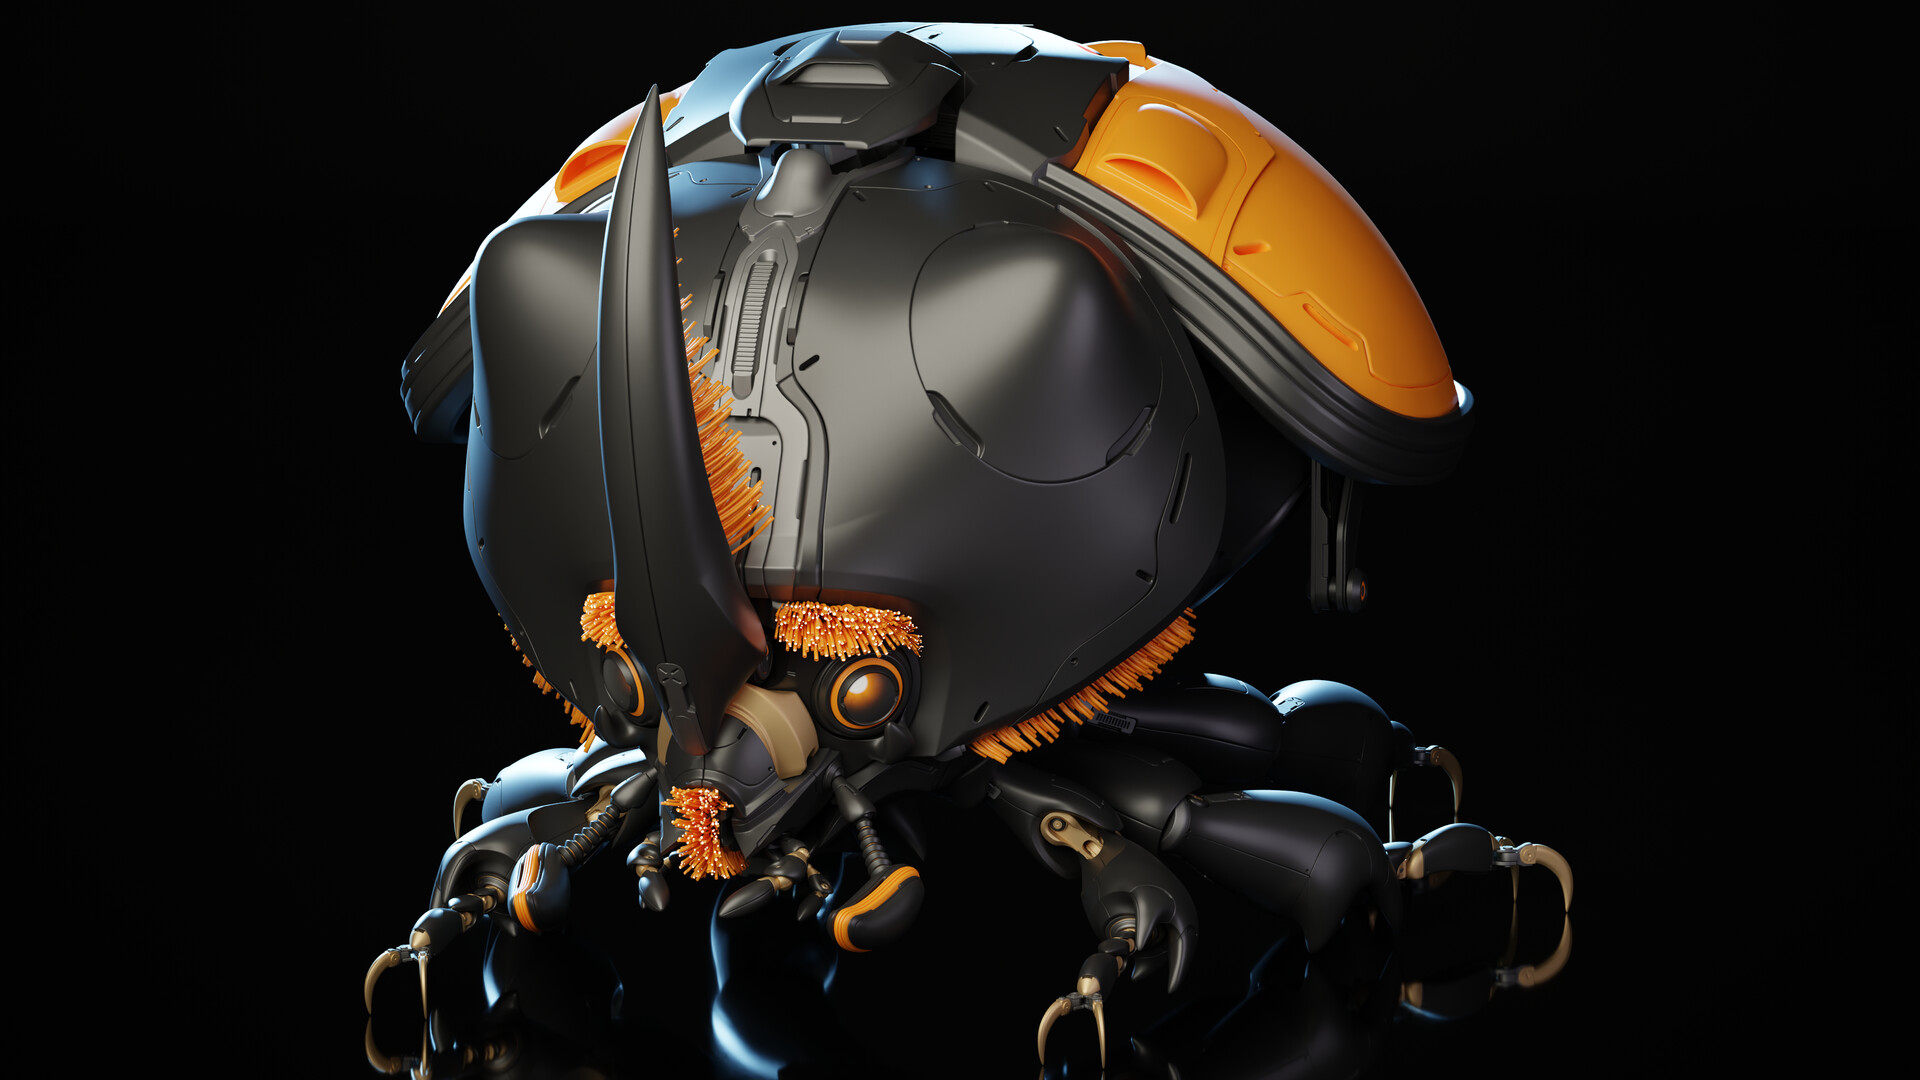
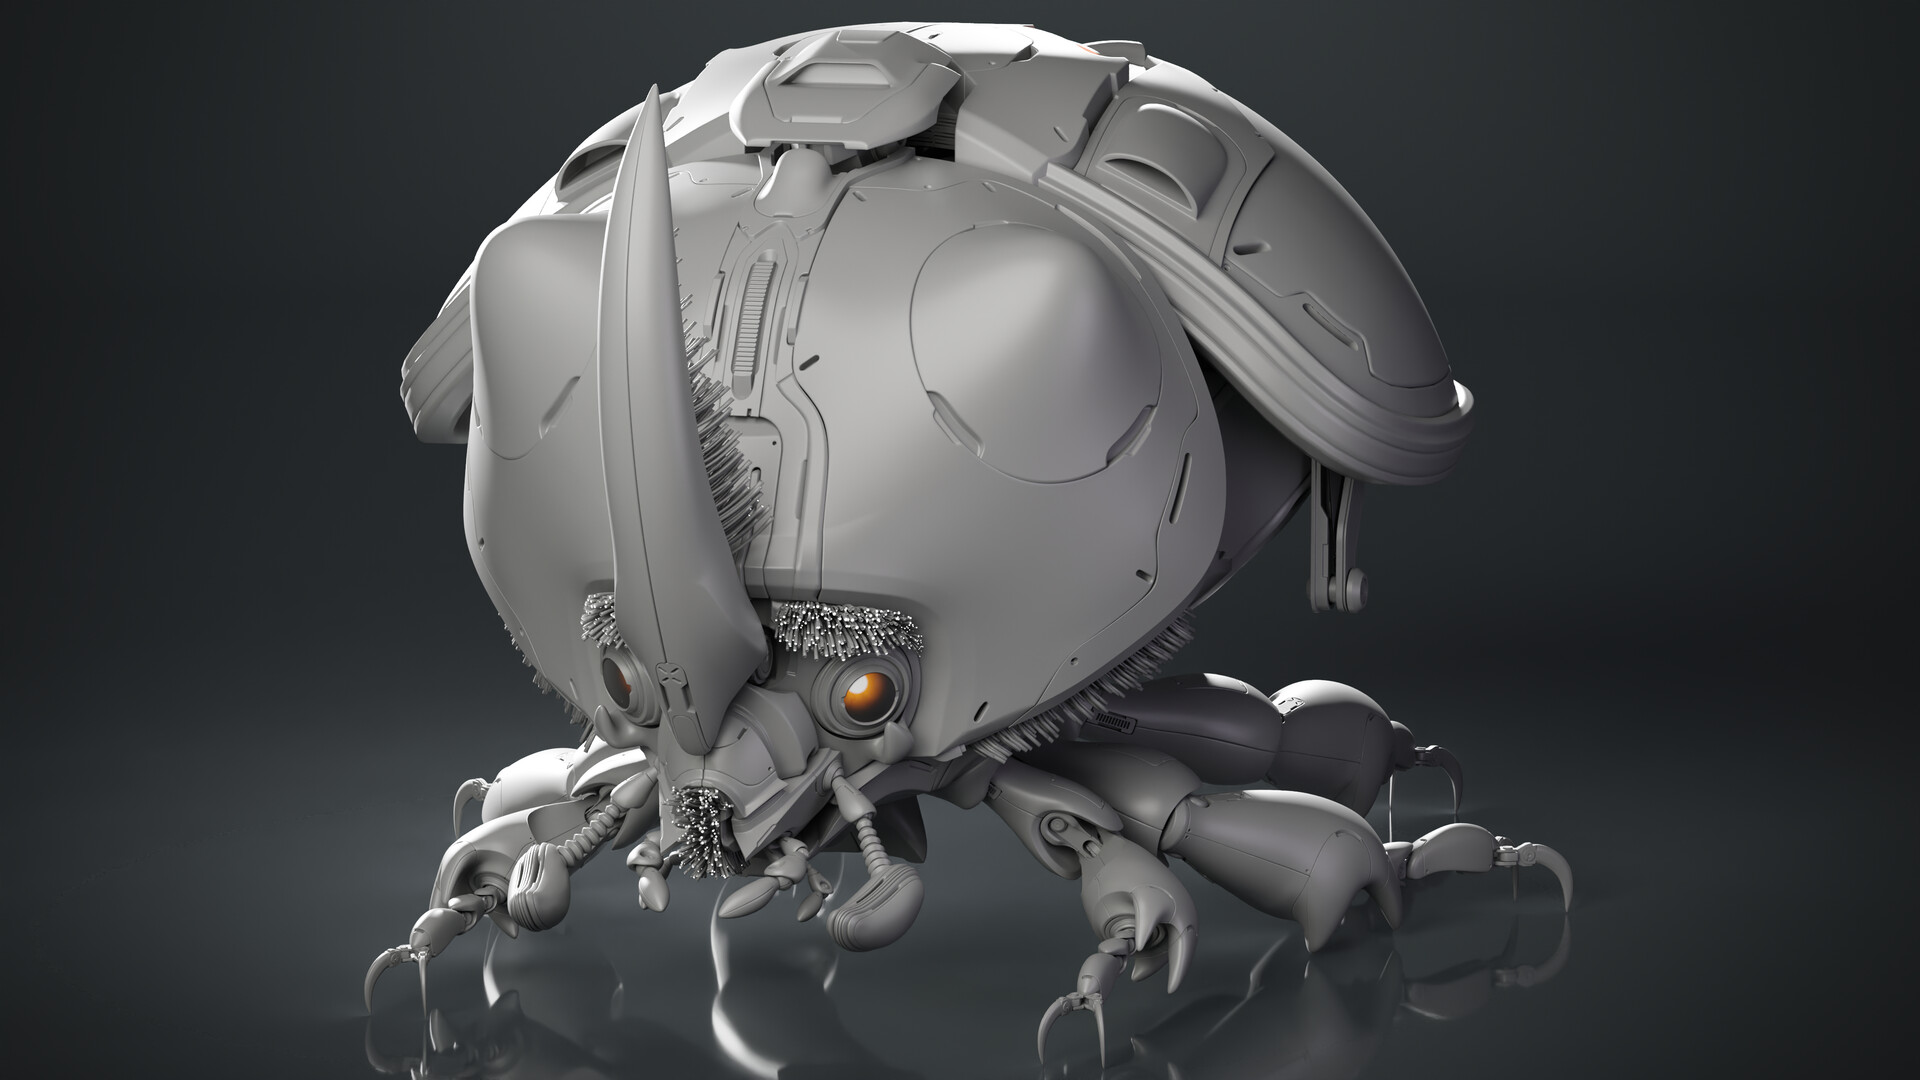
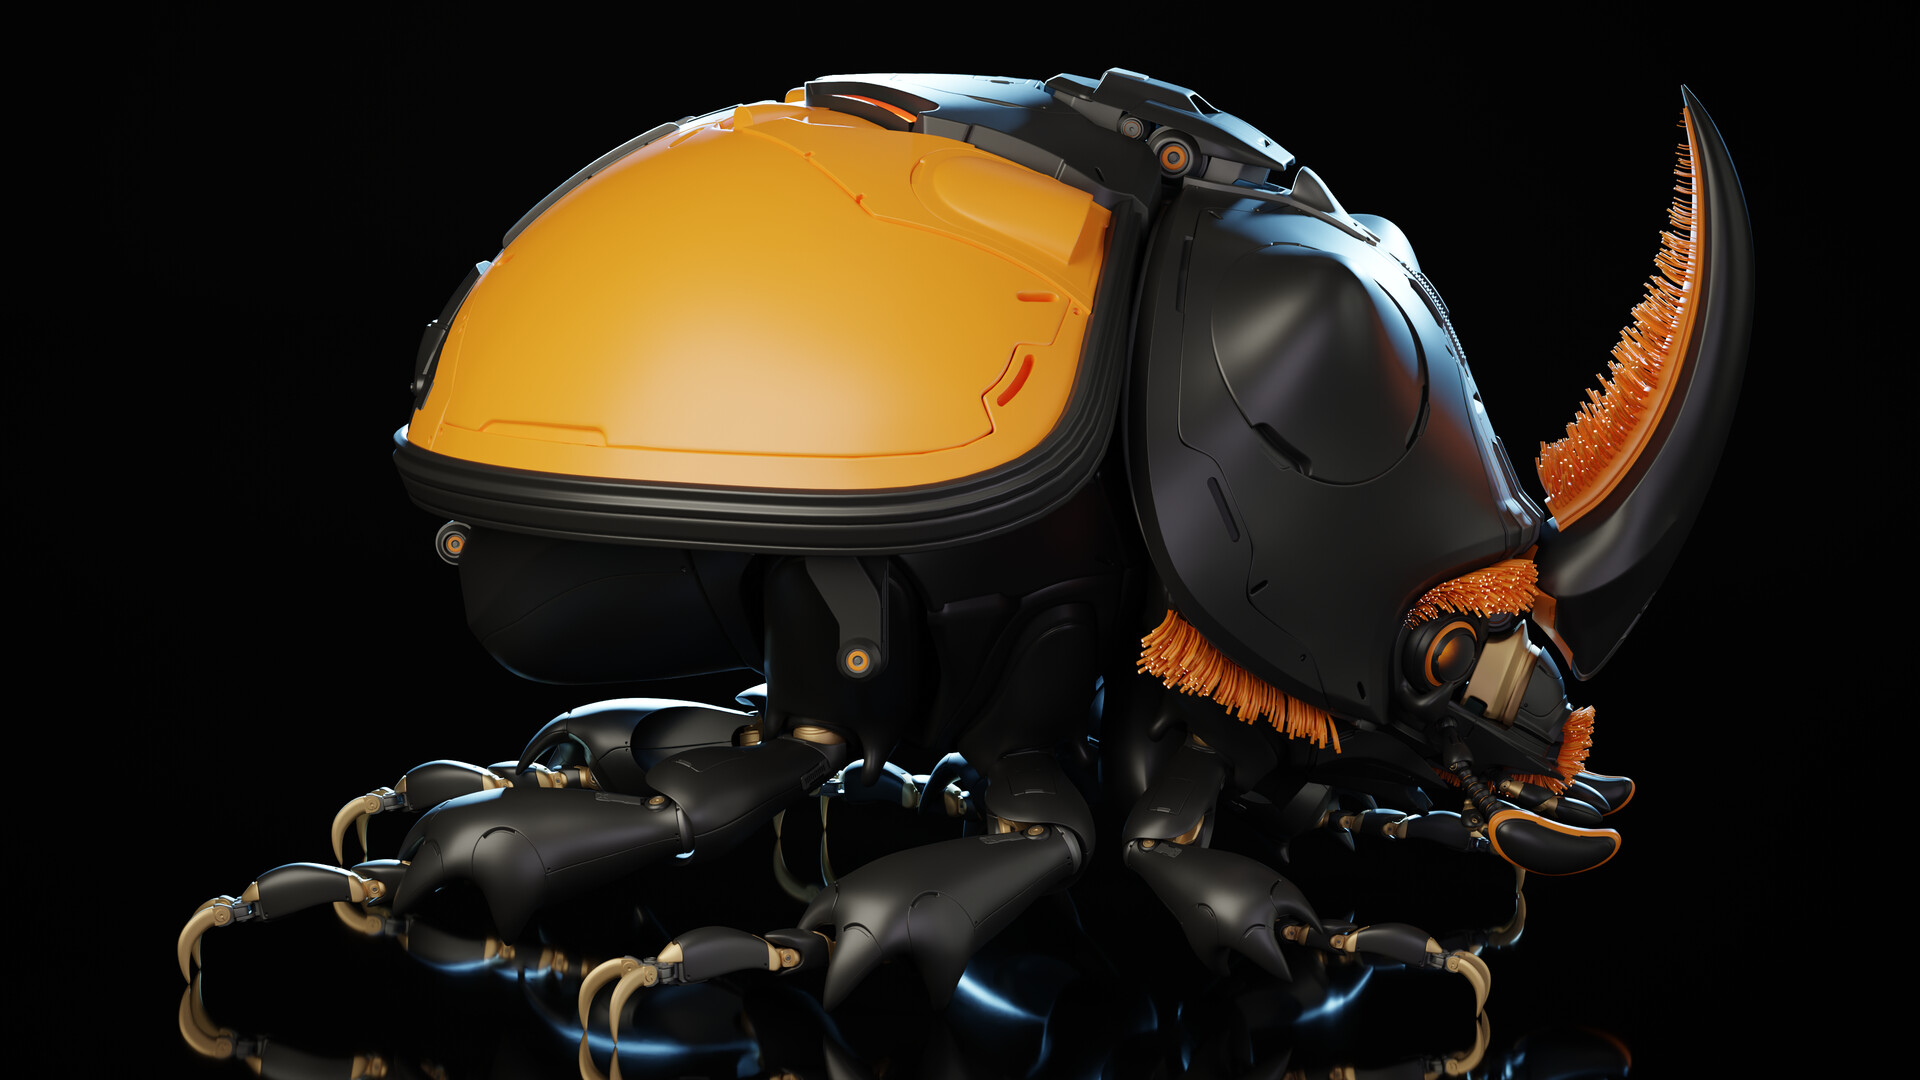
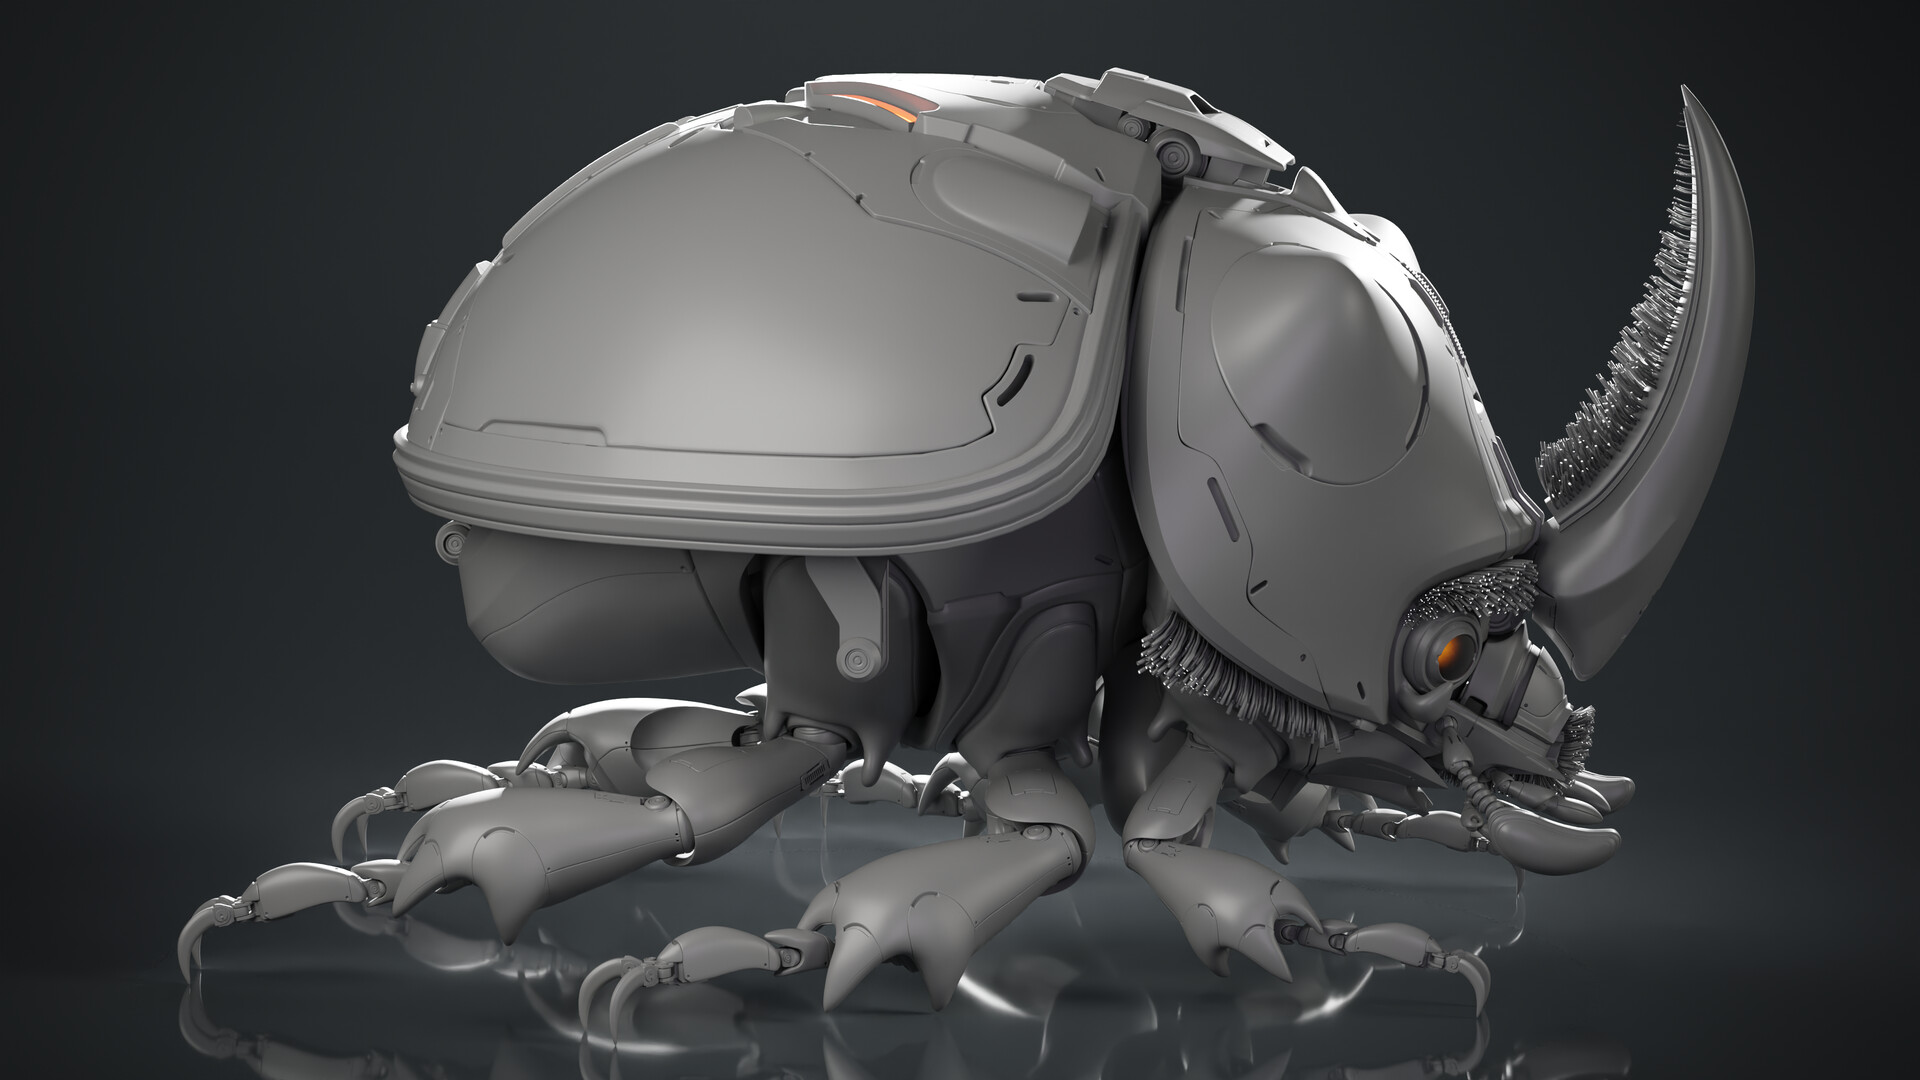
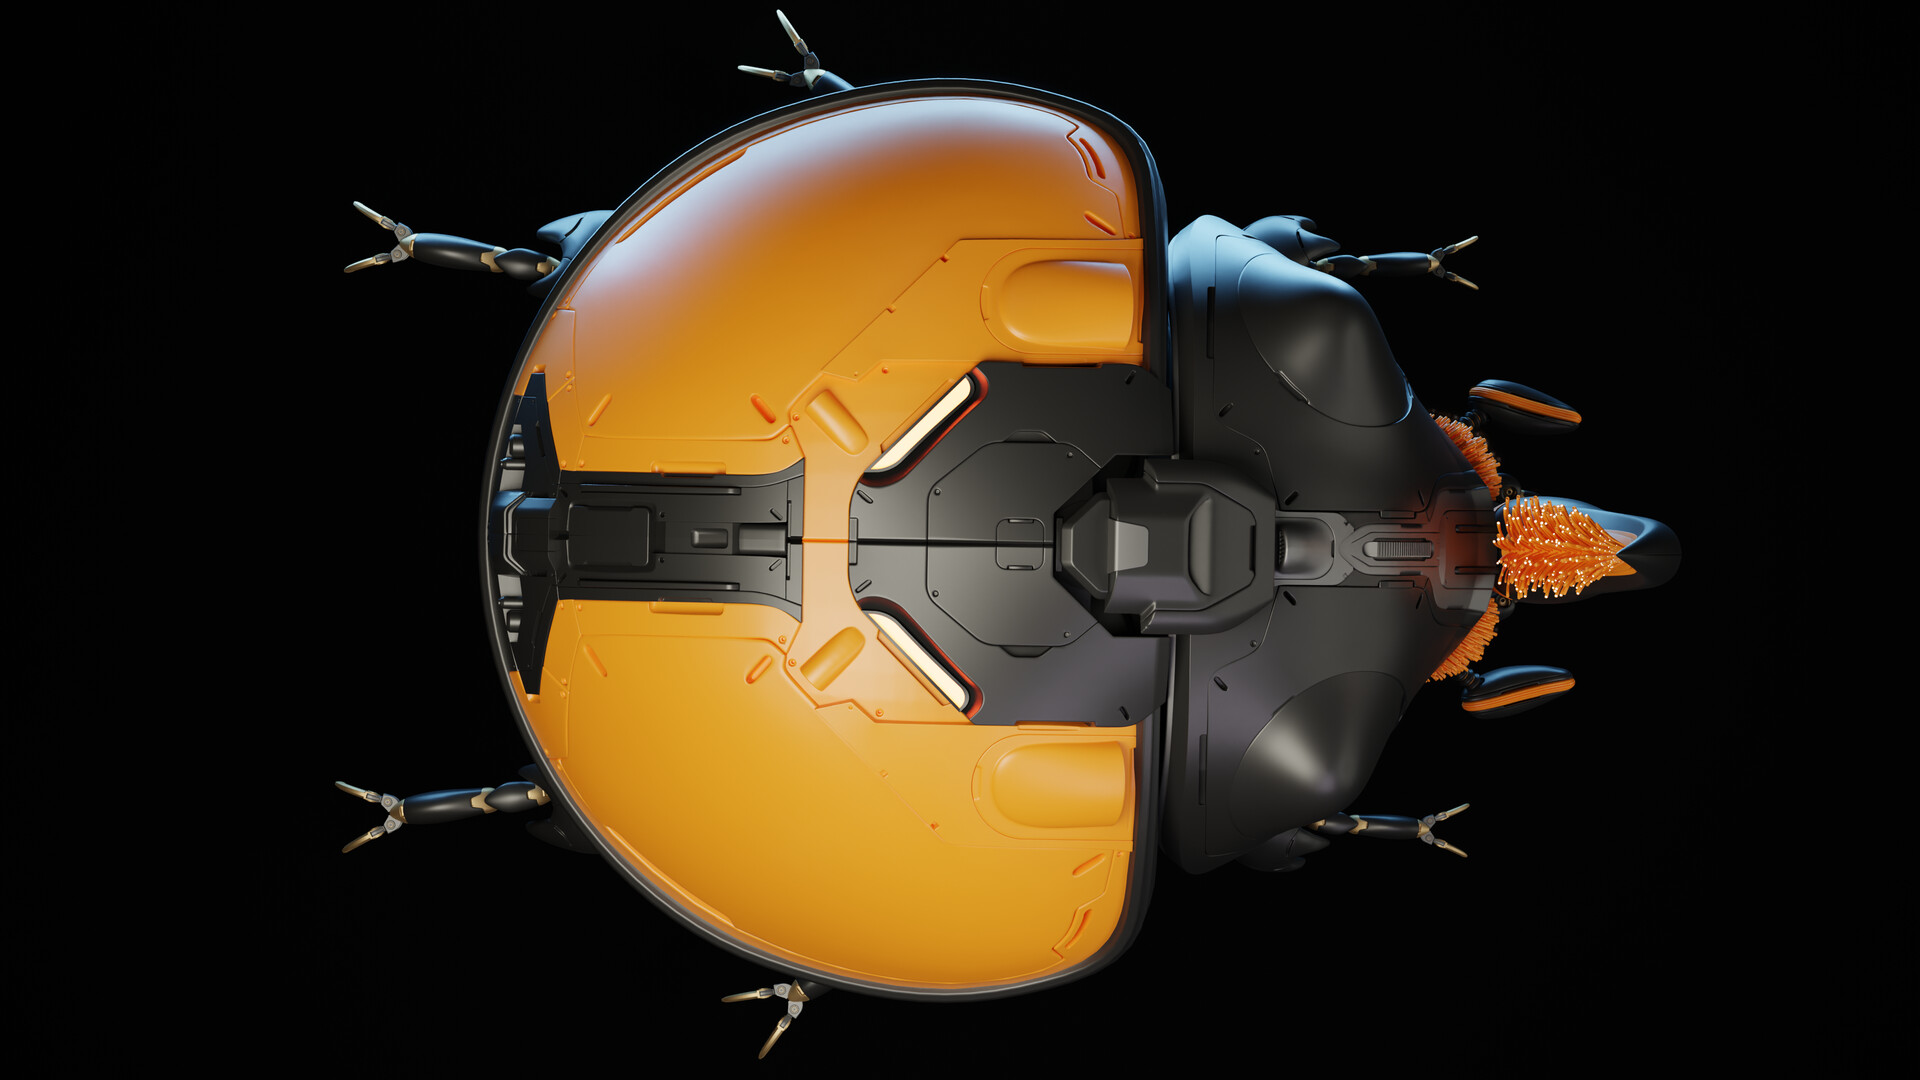
Eco - Bot Beetle High Poly Shots

Making Of / 25 January 2024

Hey Everyone, 

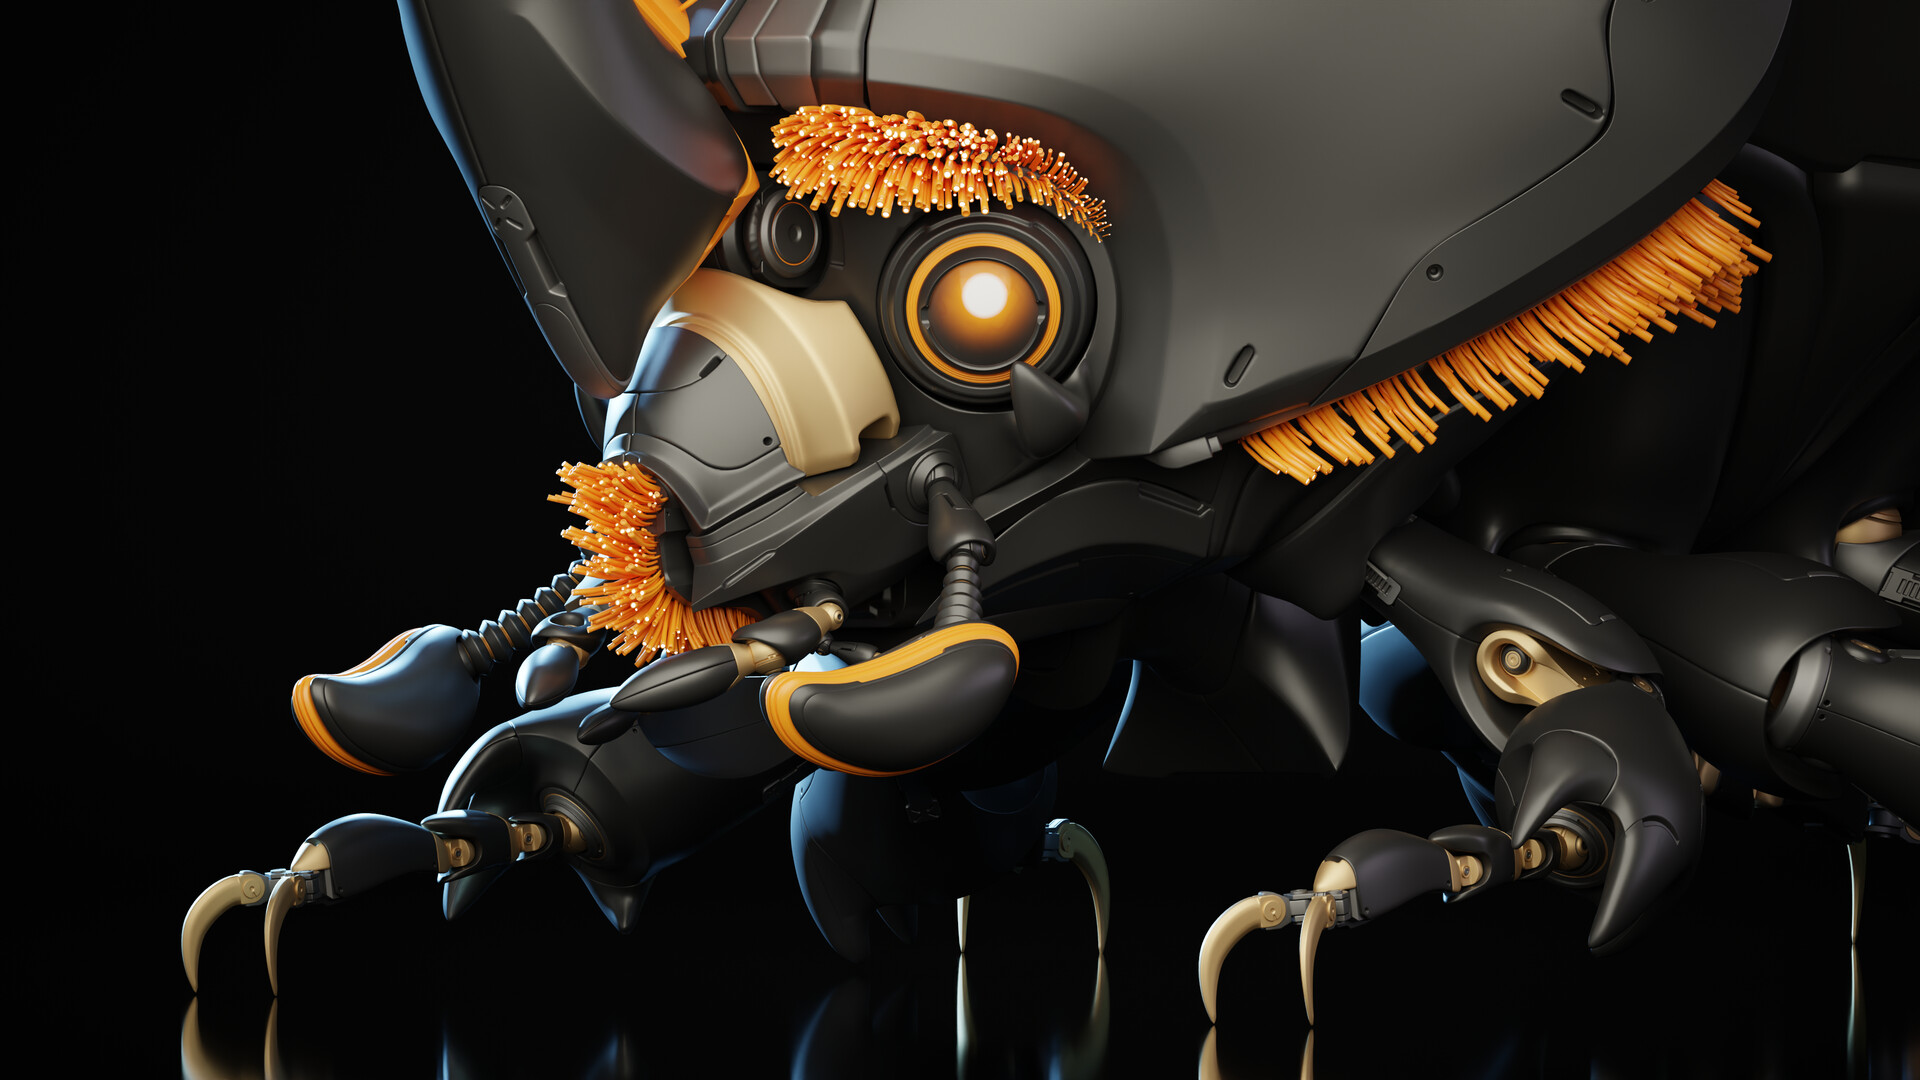
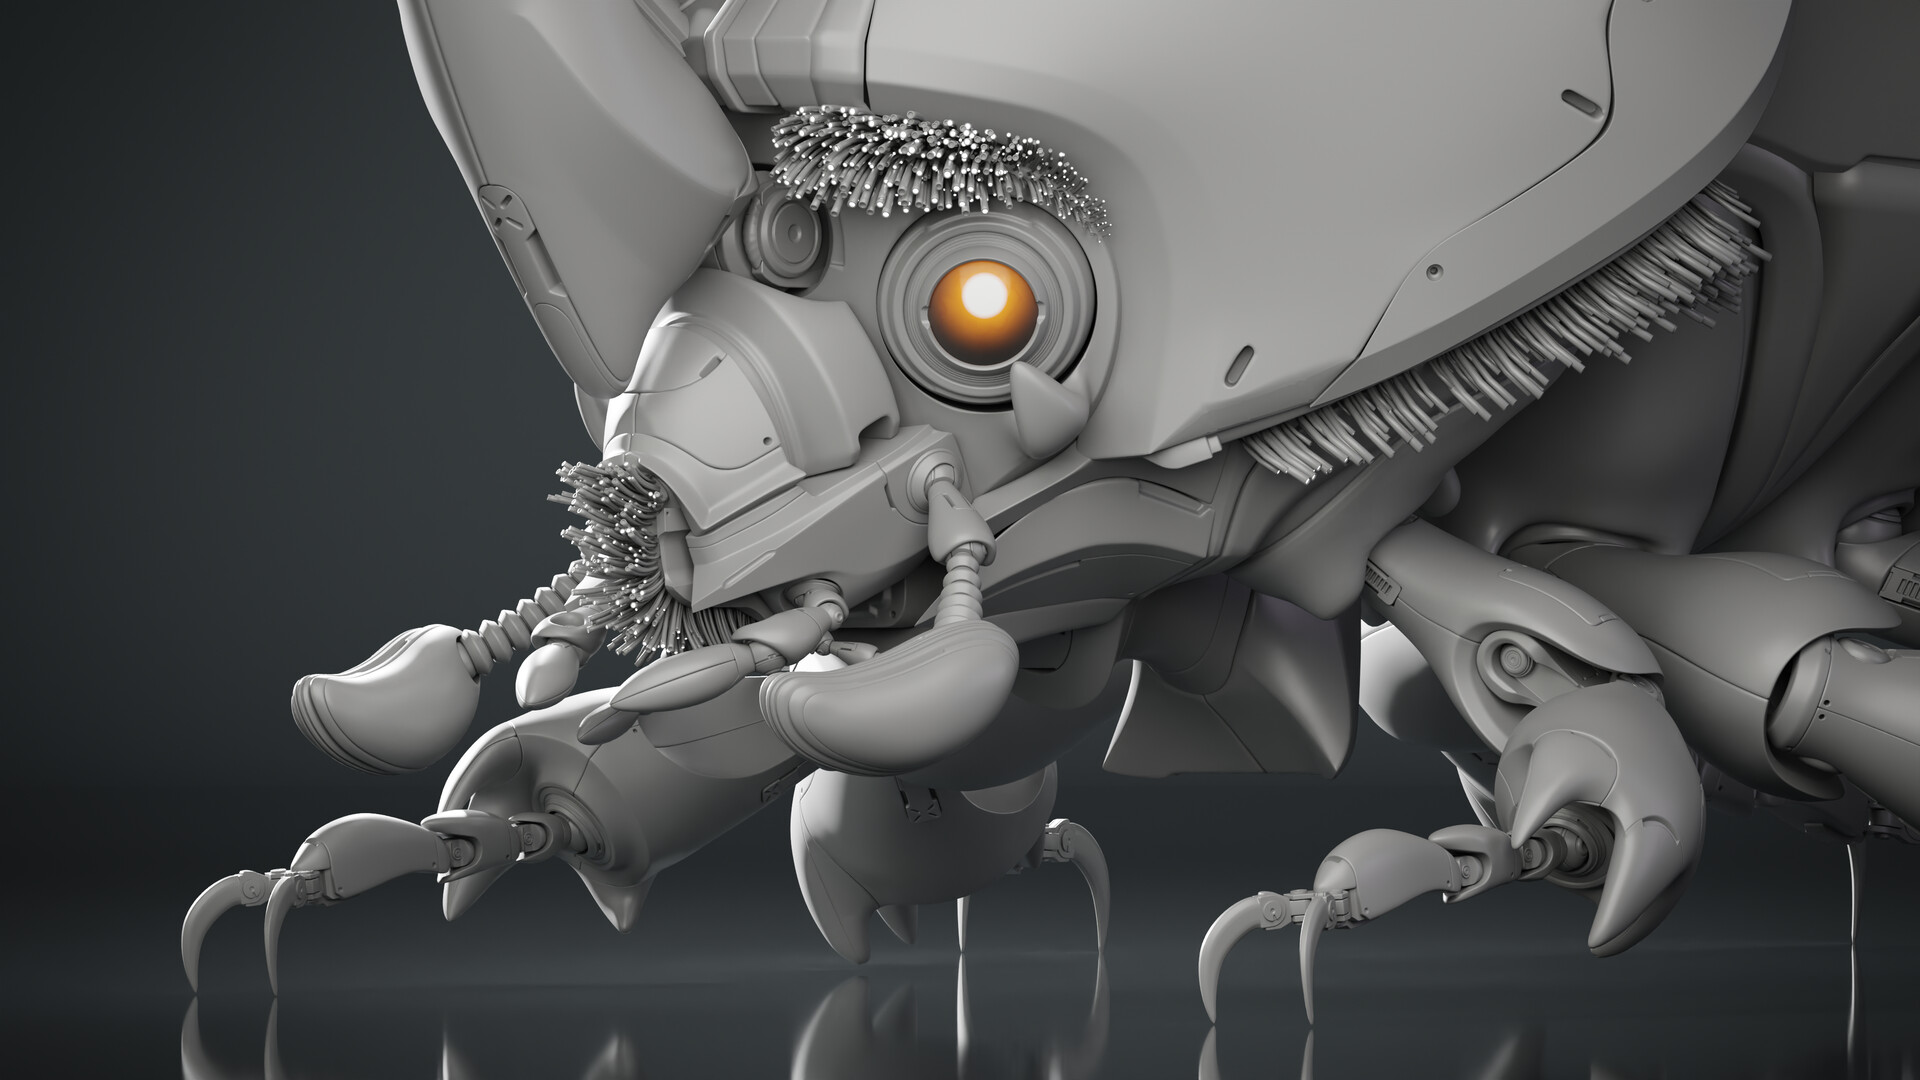
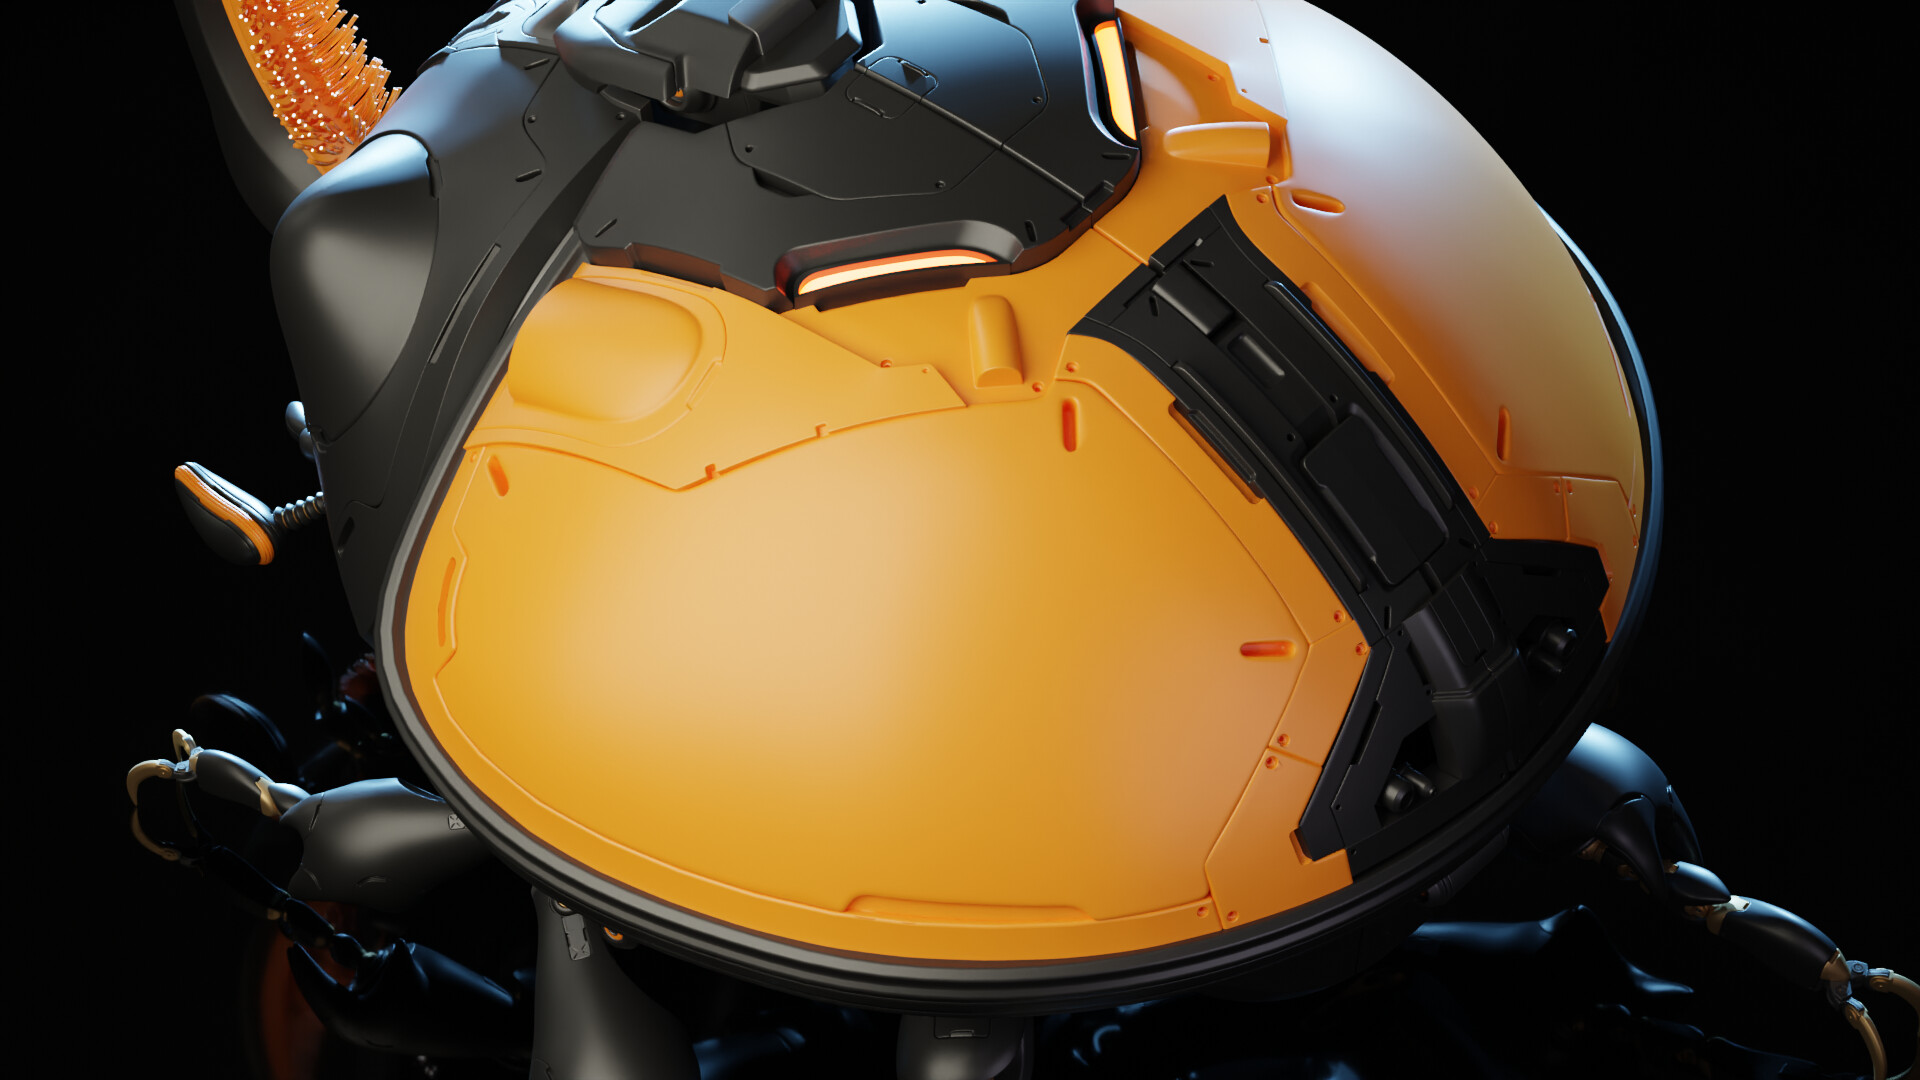
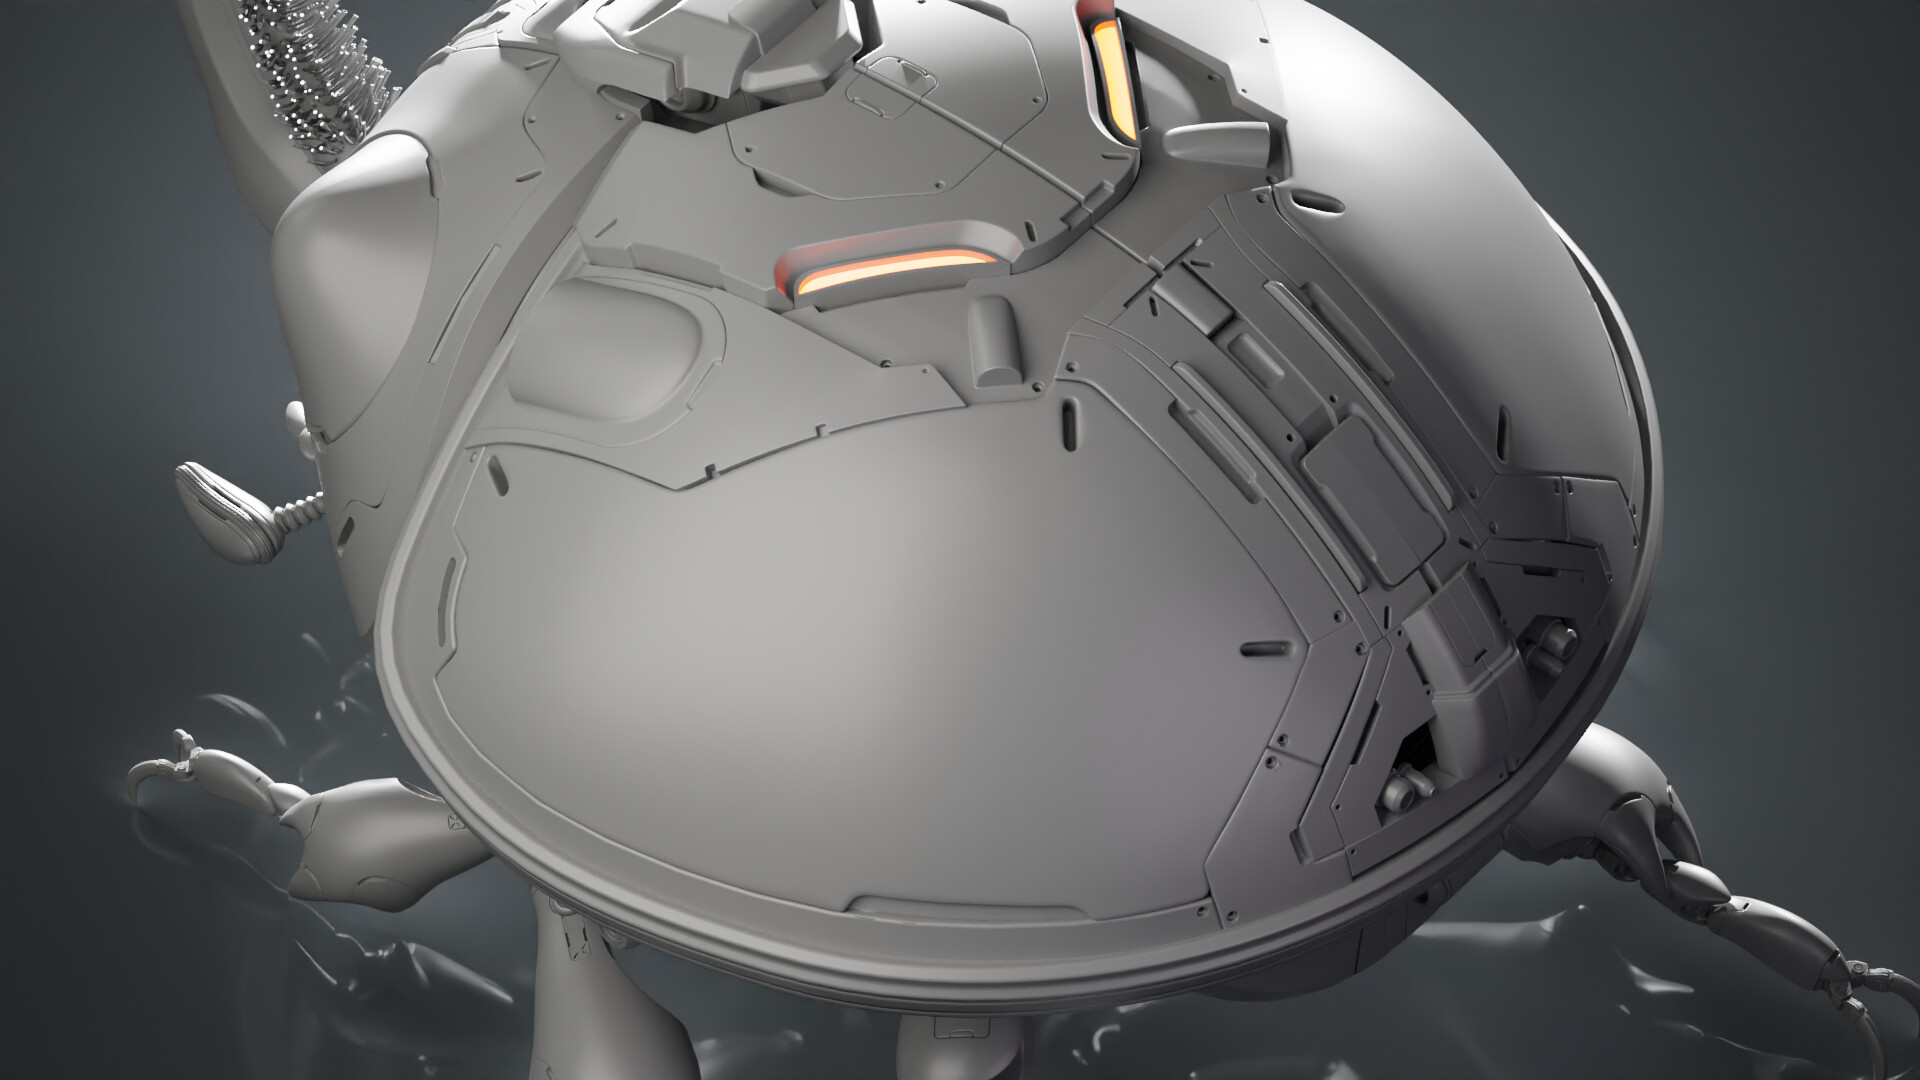
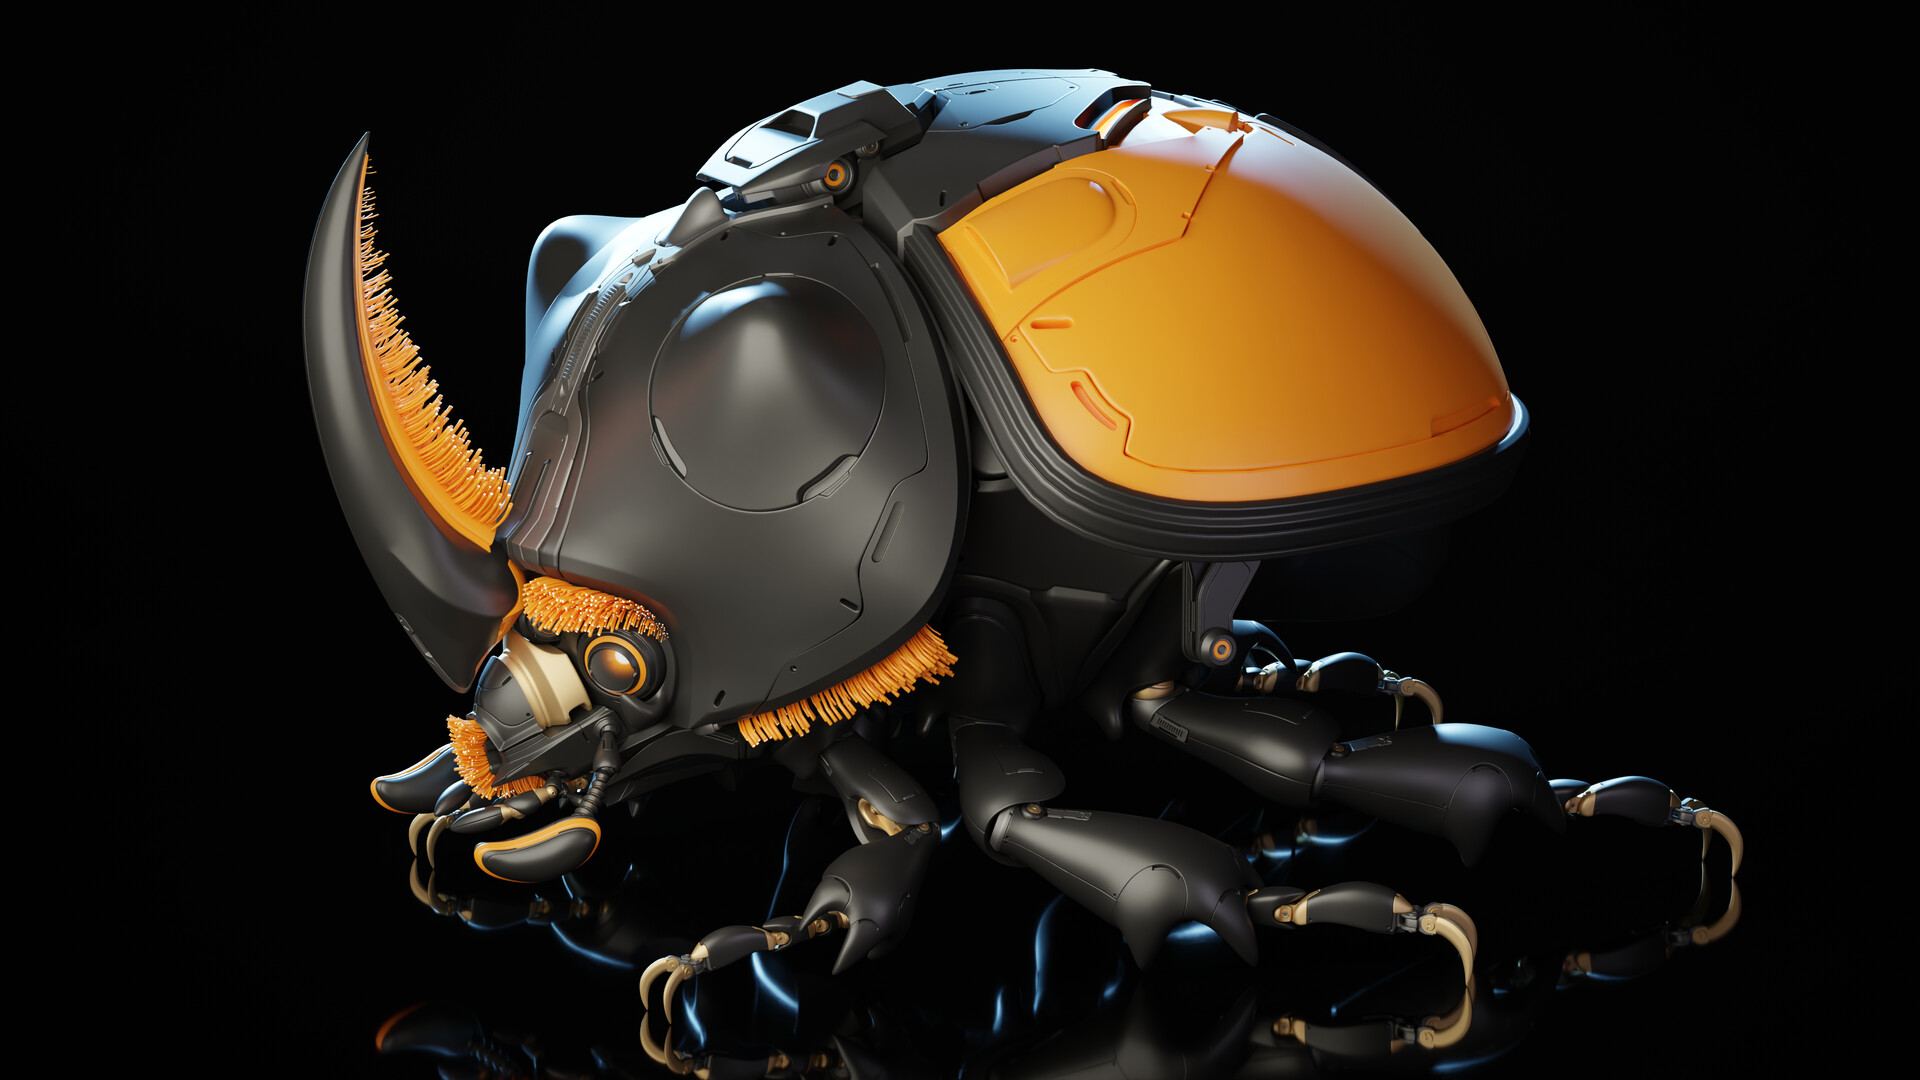
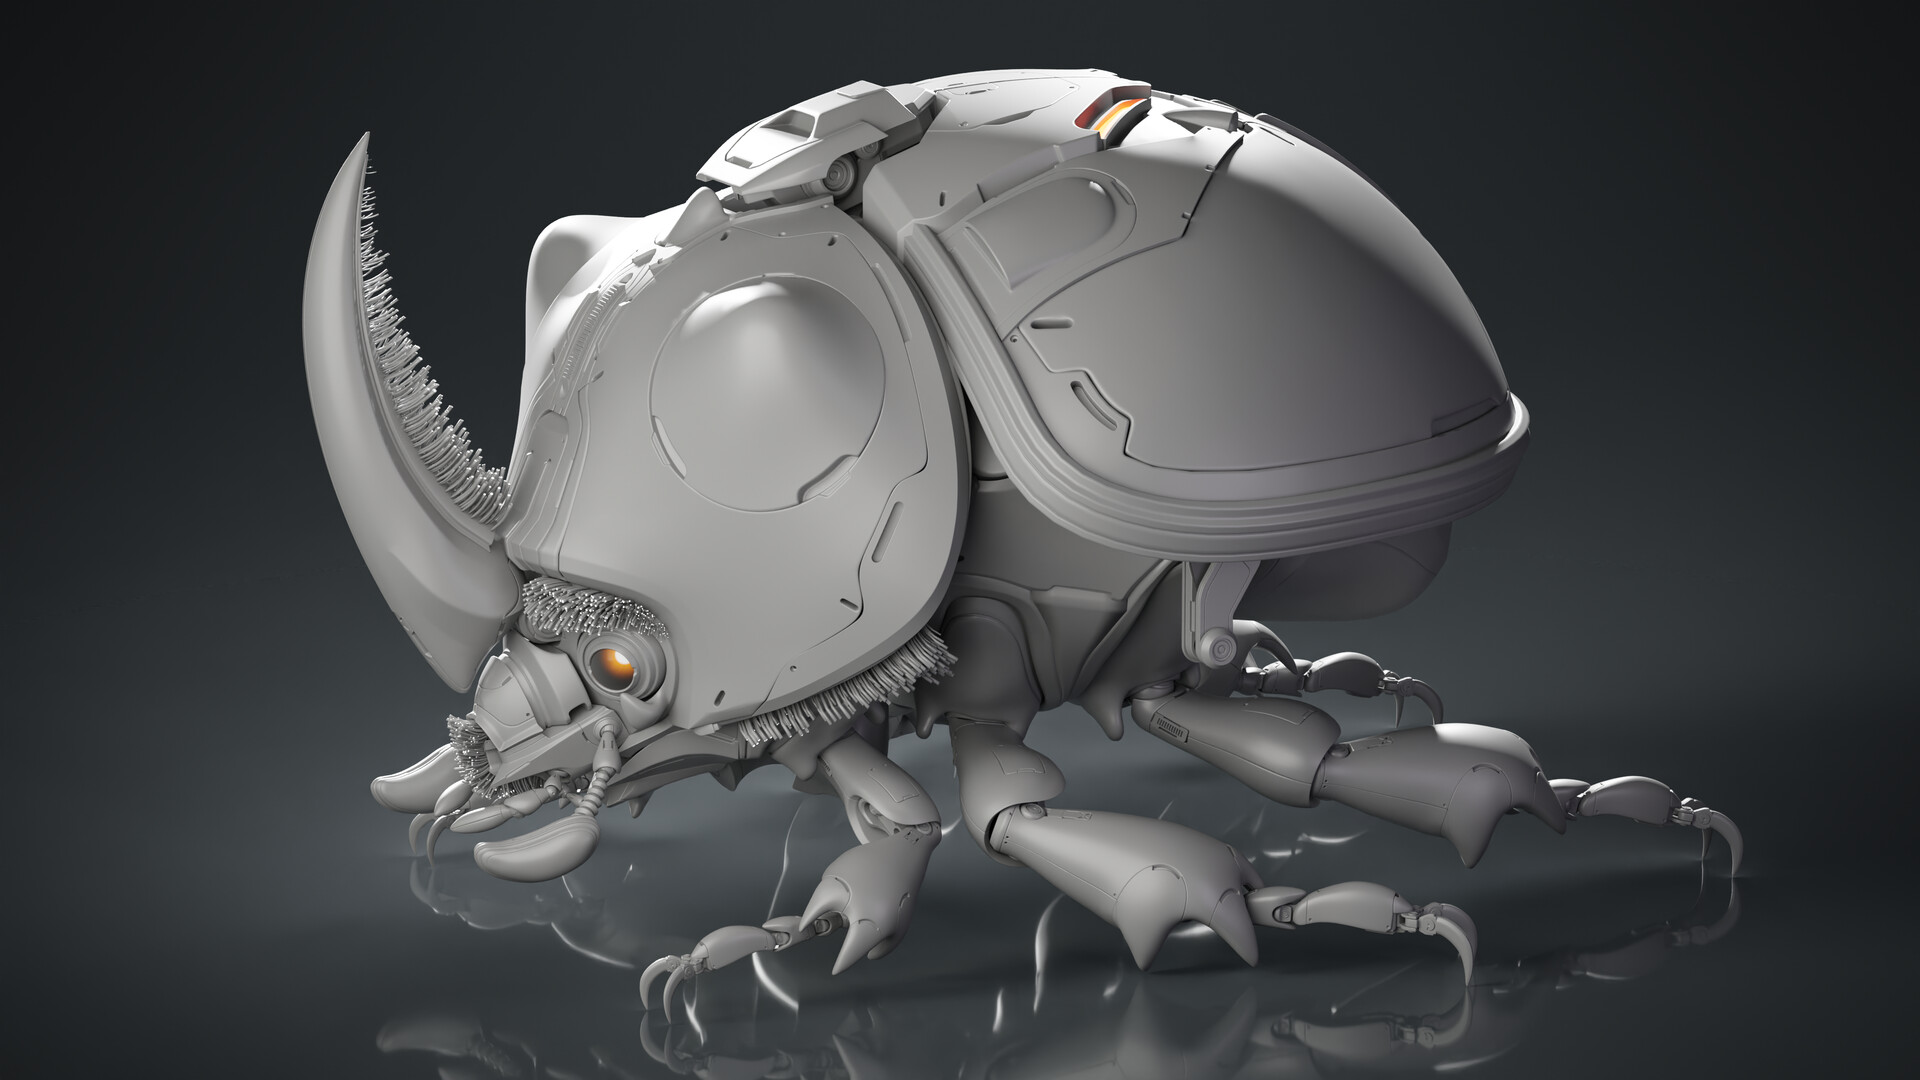
I just wanted to provide some supporting images of my beetle project that didn't make it to the final Artstation post. They were also used for marketing material for the CGMA website to show the tutorial and class. I am looking forward to teaching everyone in class! 
https://www.cgma.video/

These are mostly shots of the high poly model before I made the nanite mesh, textured, rigged and animated it. 

Enjoy! 

Ben 

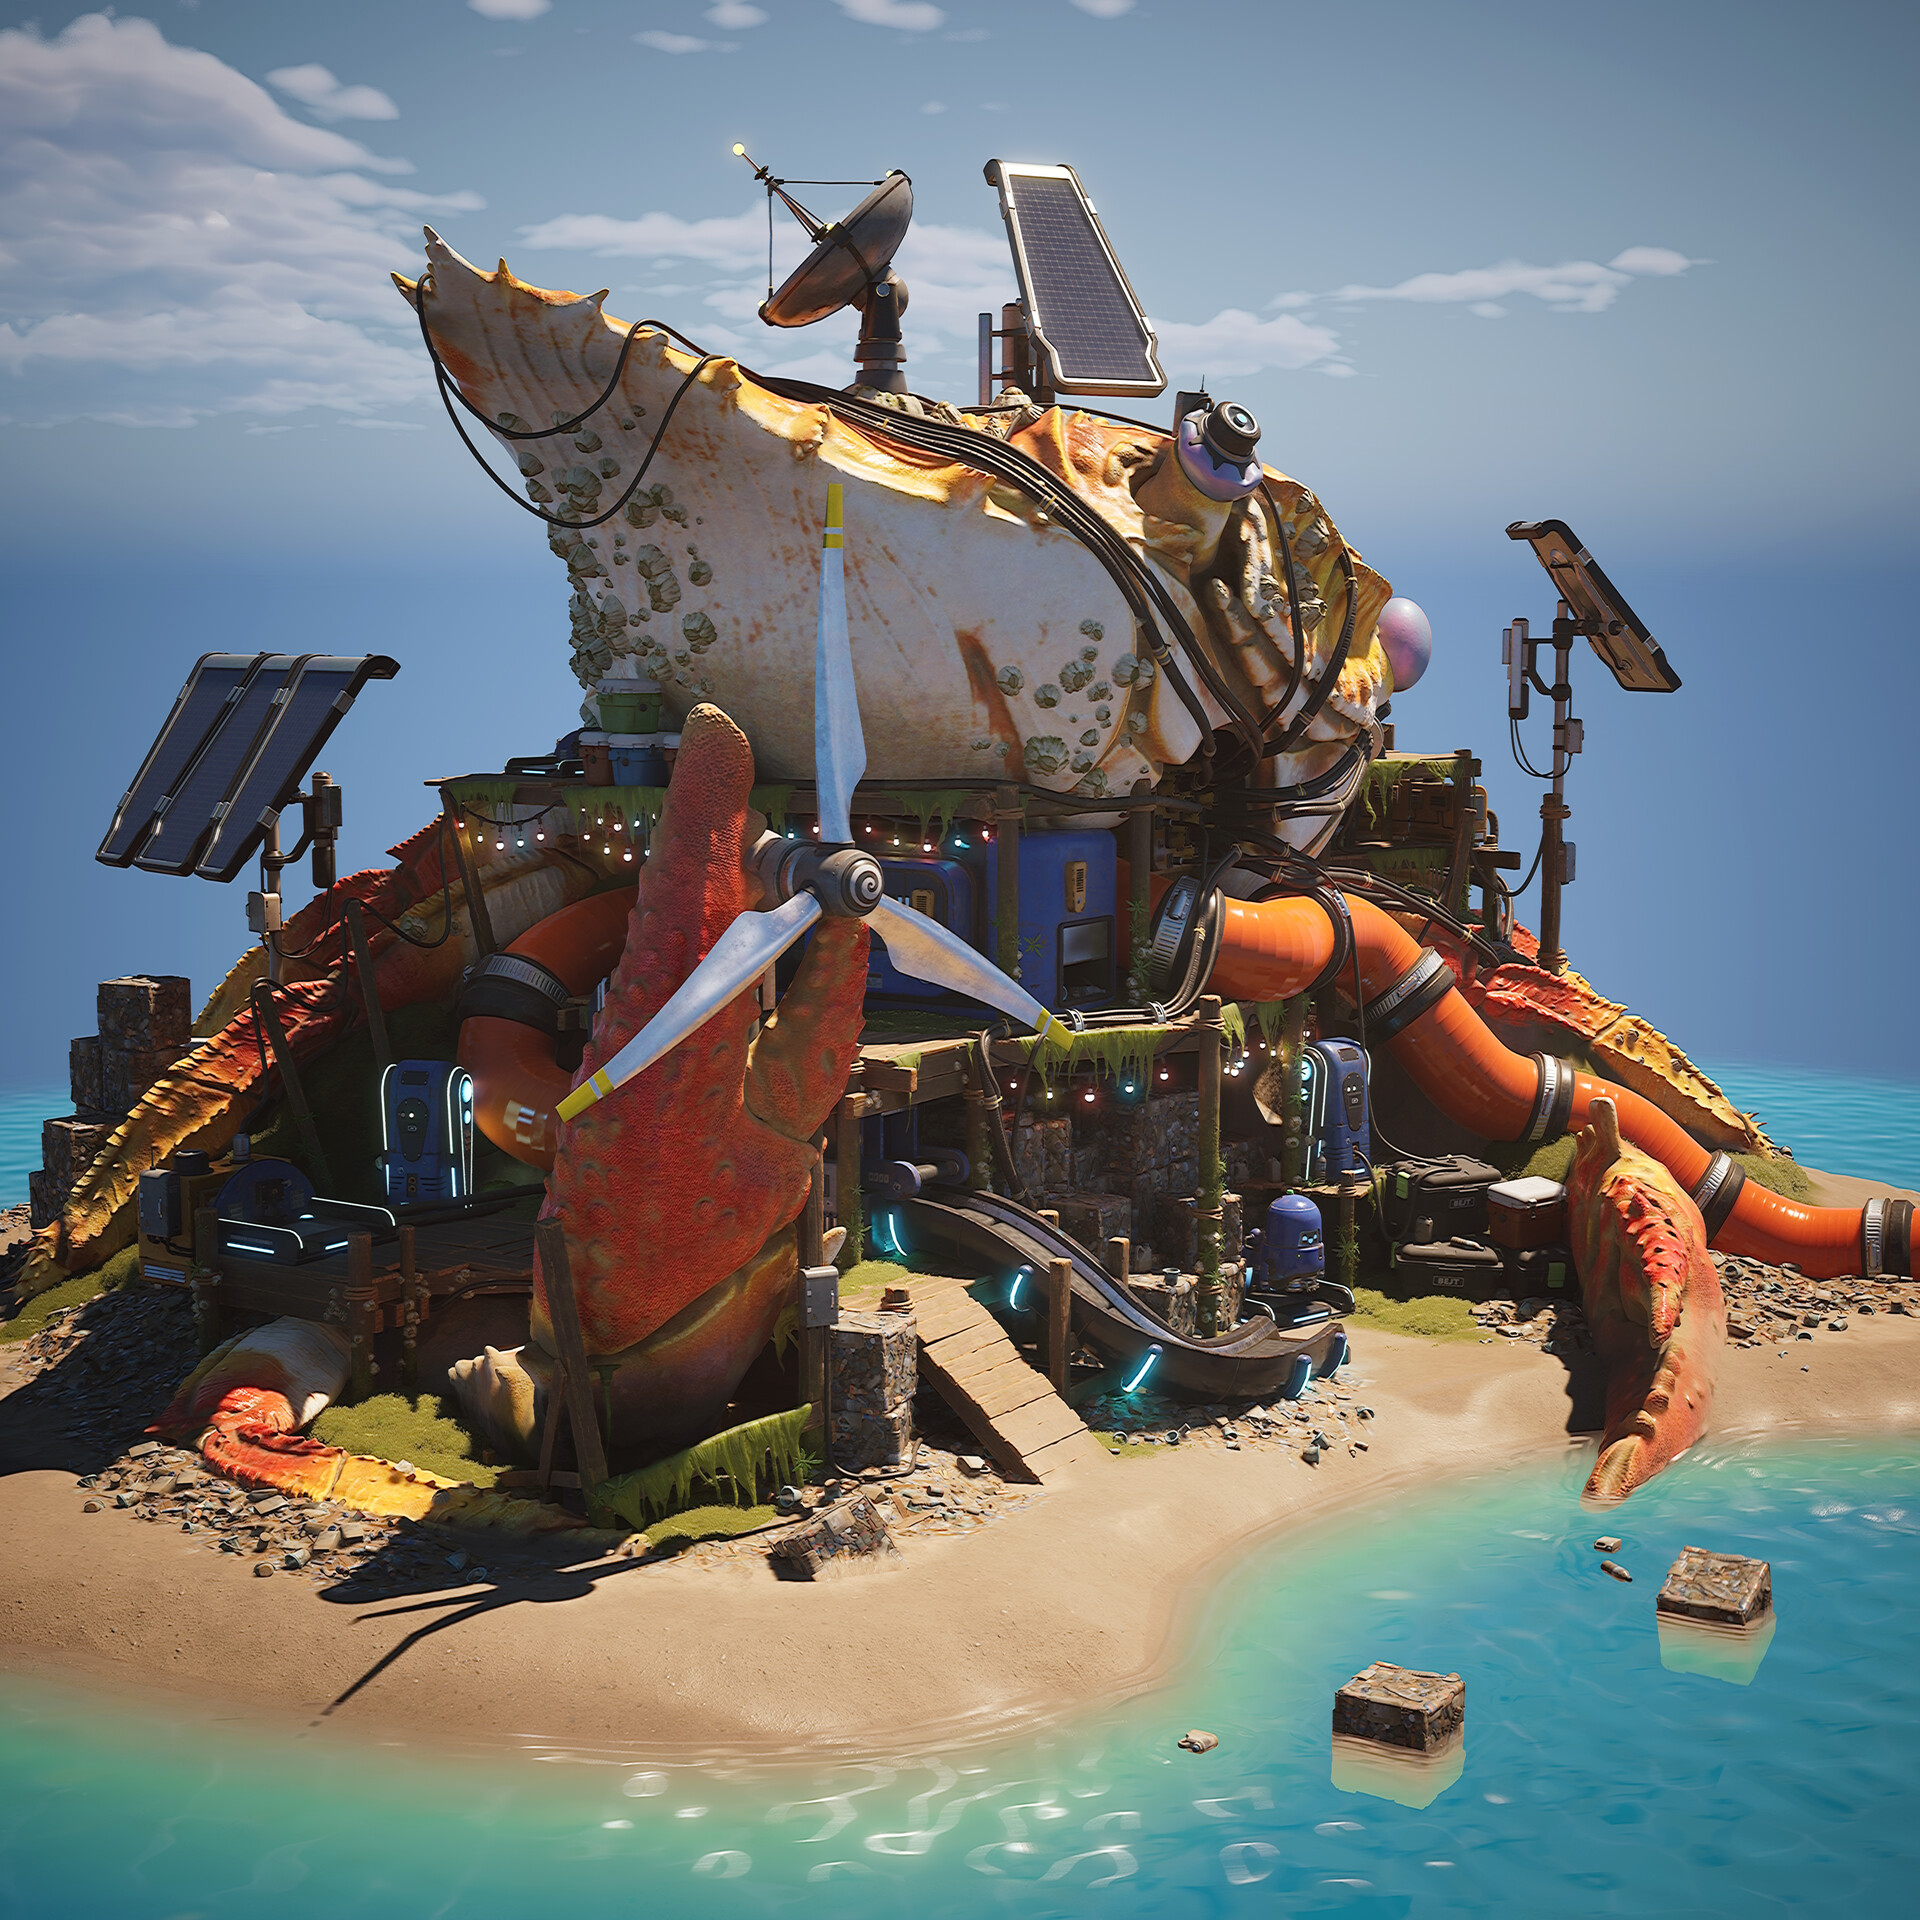
Games Artist Robot Beach Trash Article

Making Of / 28 July 2022

Hey Guys,

I wrote an article to share my workflows with my recent collab project - Robot Beach Trash. Had a blast writing the article and figuring out what parts to include. I wanted to teach others about my workflows and experience working in collaboration with Justin. Hopefully, I will have some more info to share on the project soon as well :)

You can find them all here.

https://gamesartist.co.uk/robot-beach-trash/
https://www.artstation.com/artwork/6bgxww
https://twitter.com/GamesArtistUK/
https://www.facebook.com/GamesArtist/
https://www.instagram.com/gamesartistuk/

Experience Points Podcast

Making Of / 02 November 2021

Hey Guys,

I recently did a podcast discussing the artstation competition with Experience Points. Had a lot of fun chatting with the guys :)